
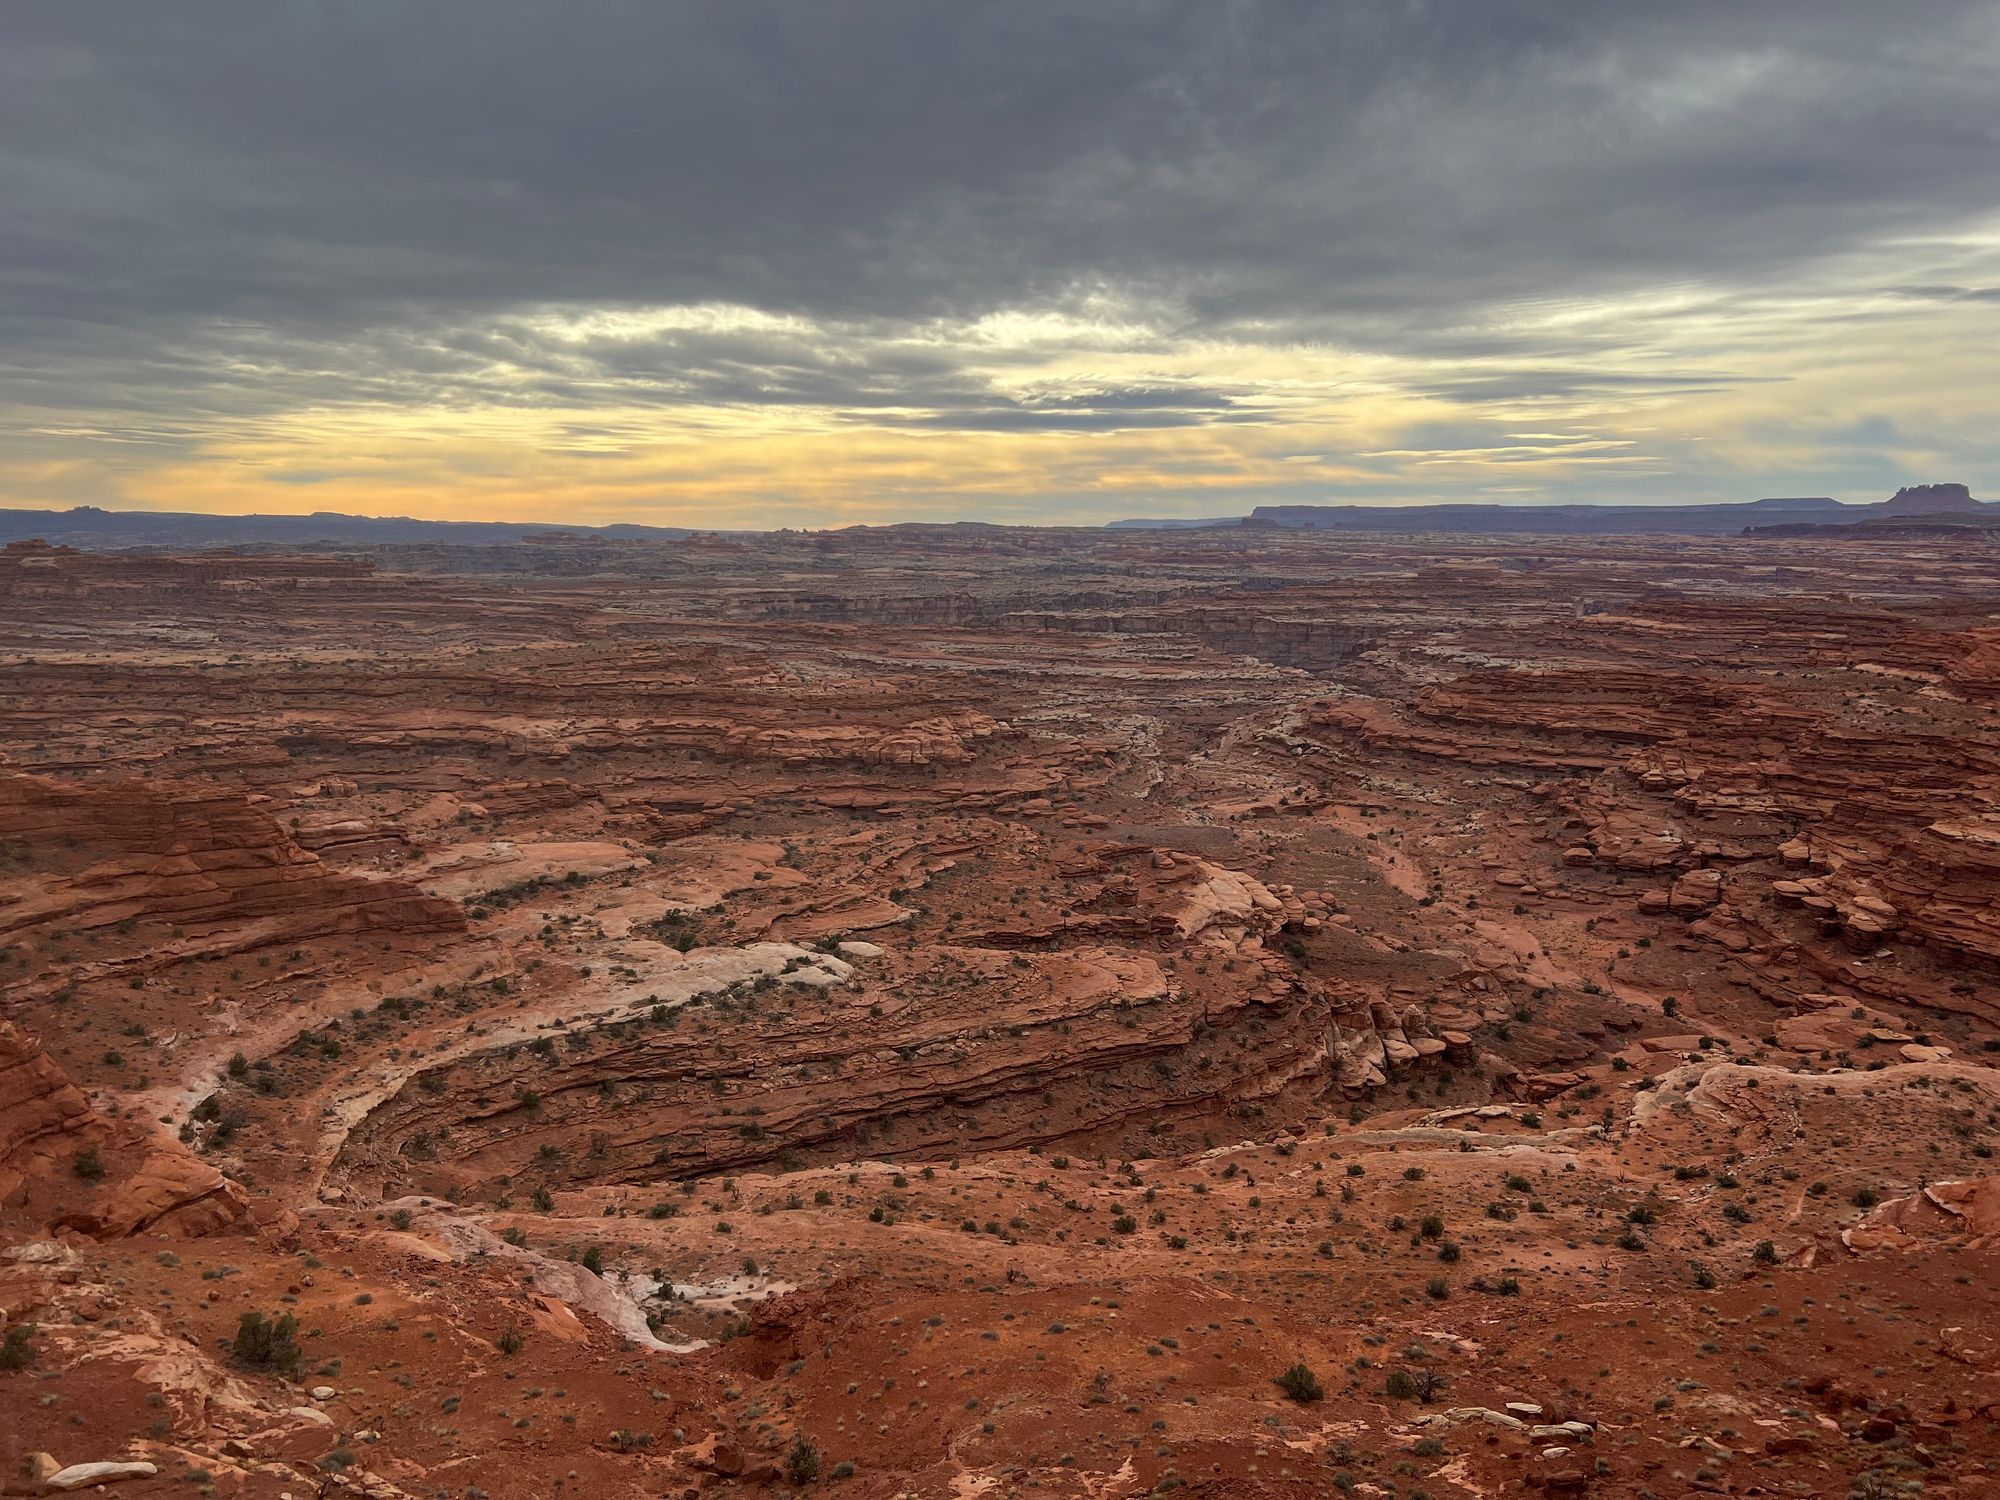
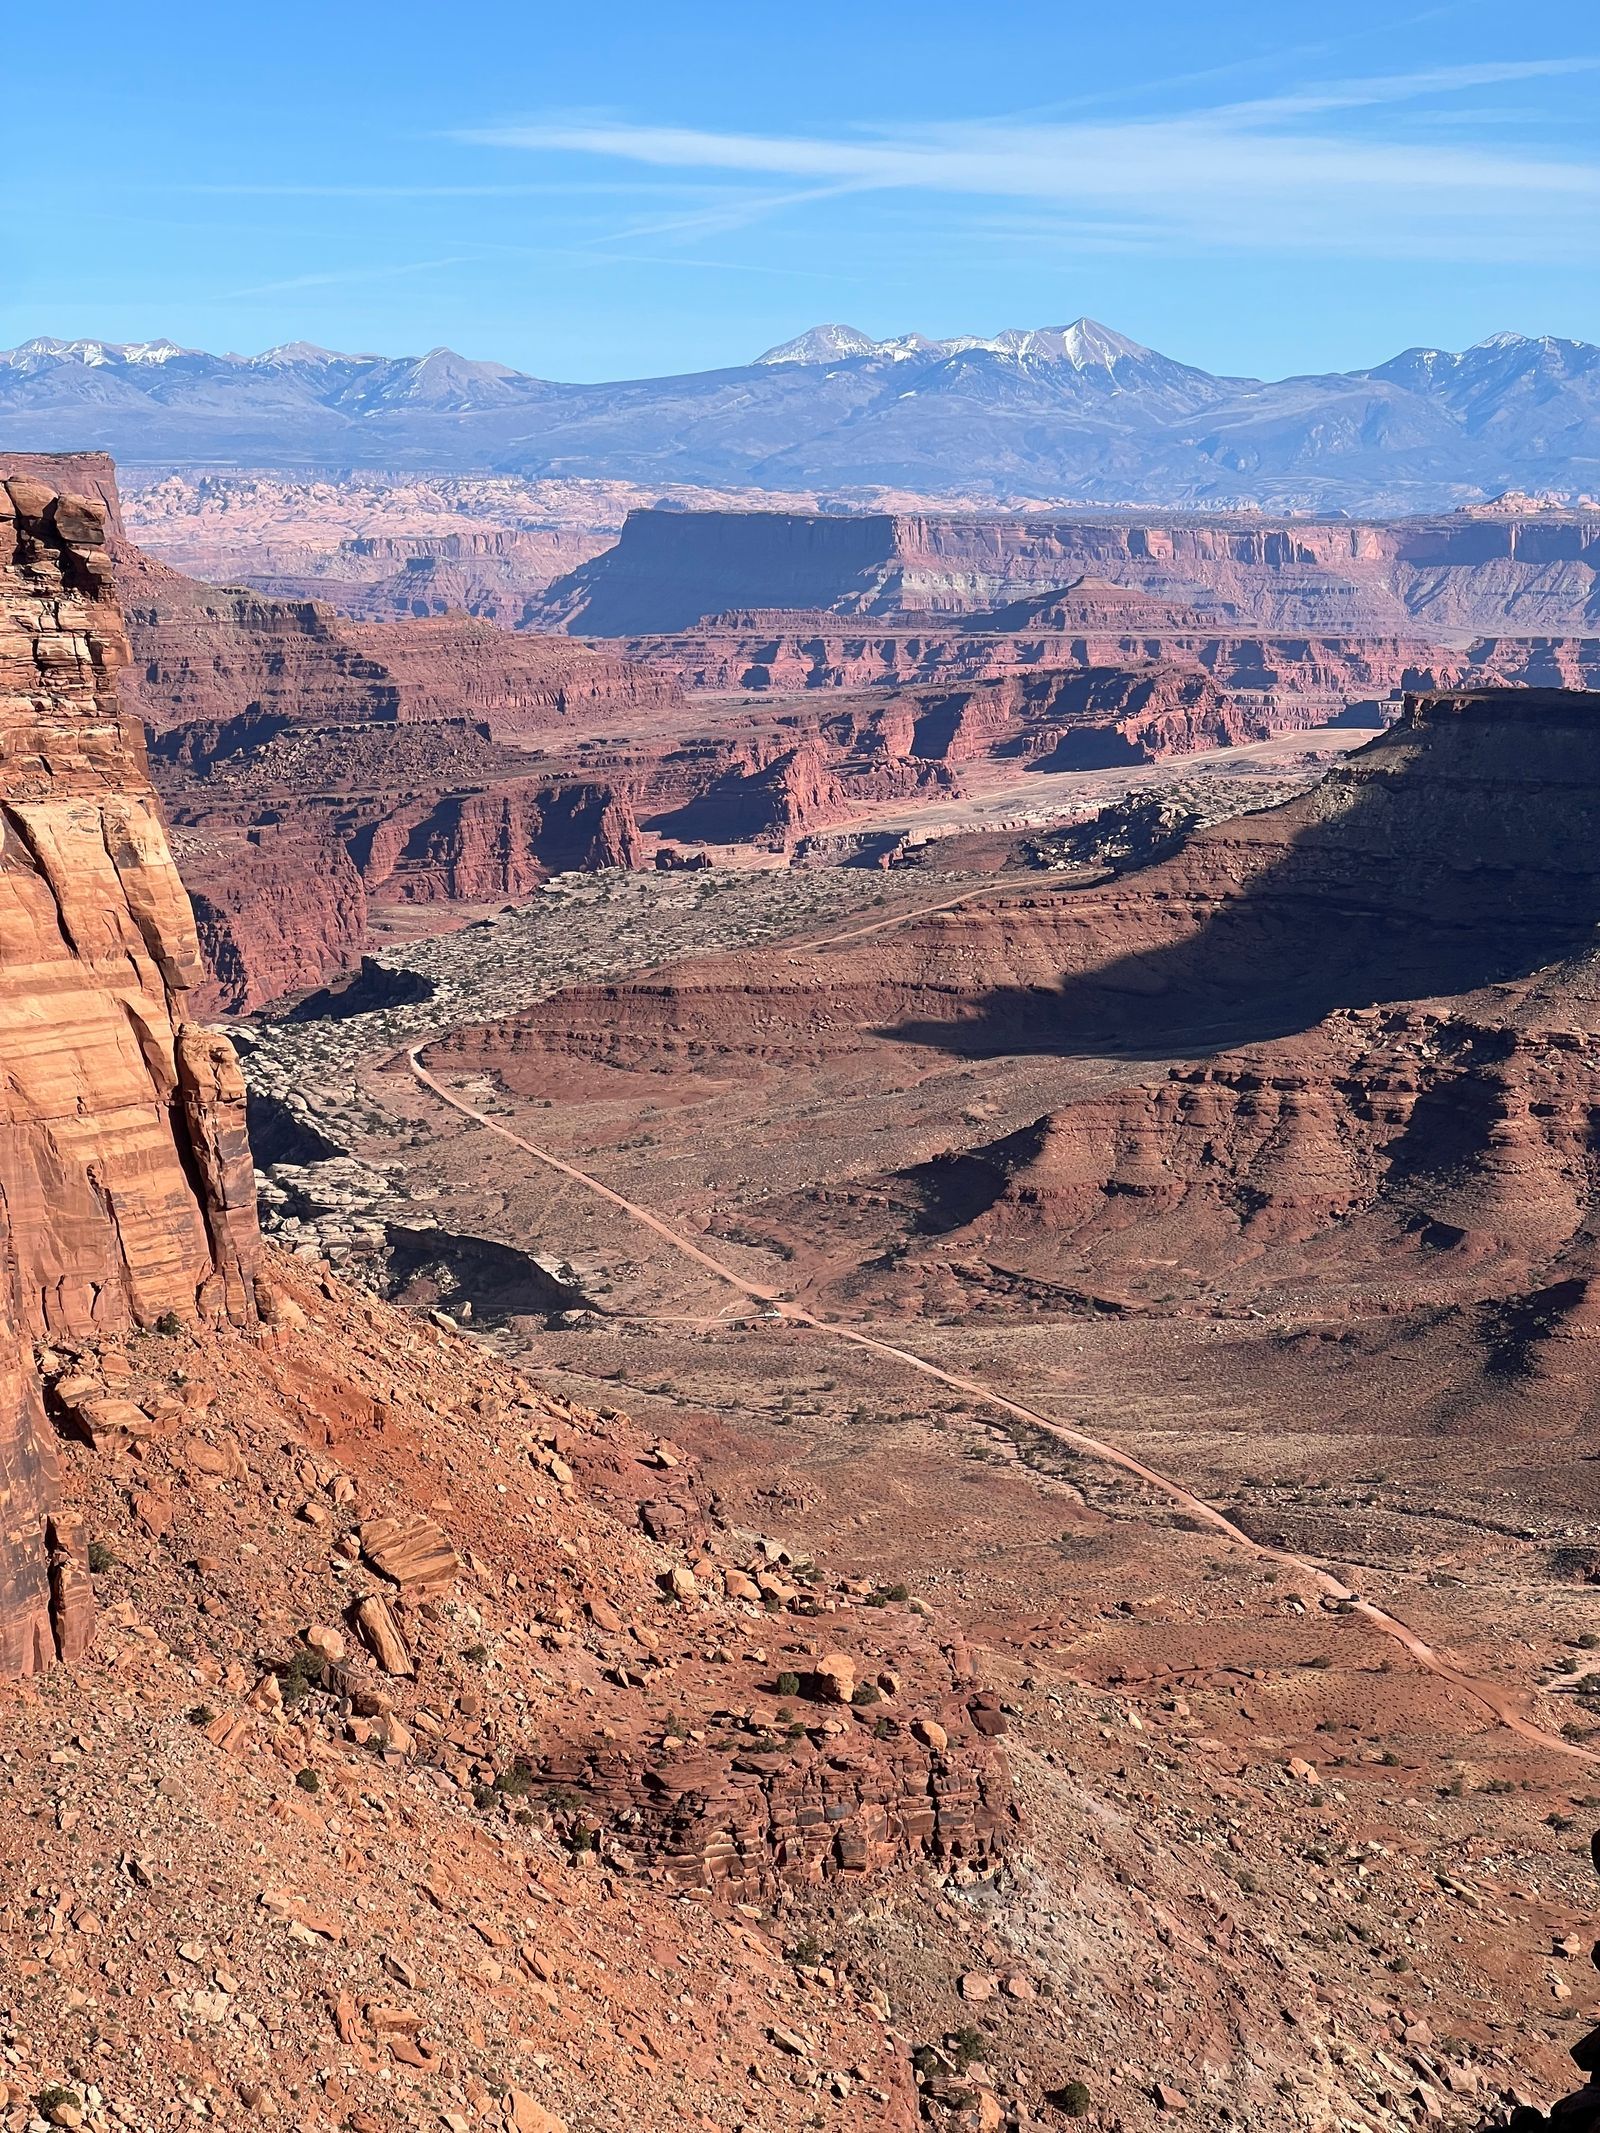
Last December, I did a 4 day, 3 night ride around the 100 mile White Rim Road in Canyonlands National Park. It’s considered a bucket list ride for many, and for good reason: it’s epic as hell!
Sharing some thoughts I didn’t see covered in depth elsewhere ahead of my ride, especially on the time of year I went, the bike I choose, and how I self-supported my ride over 4 days without doing anything too time-intensive.
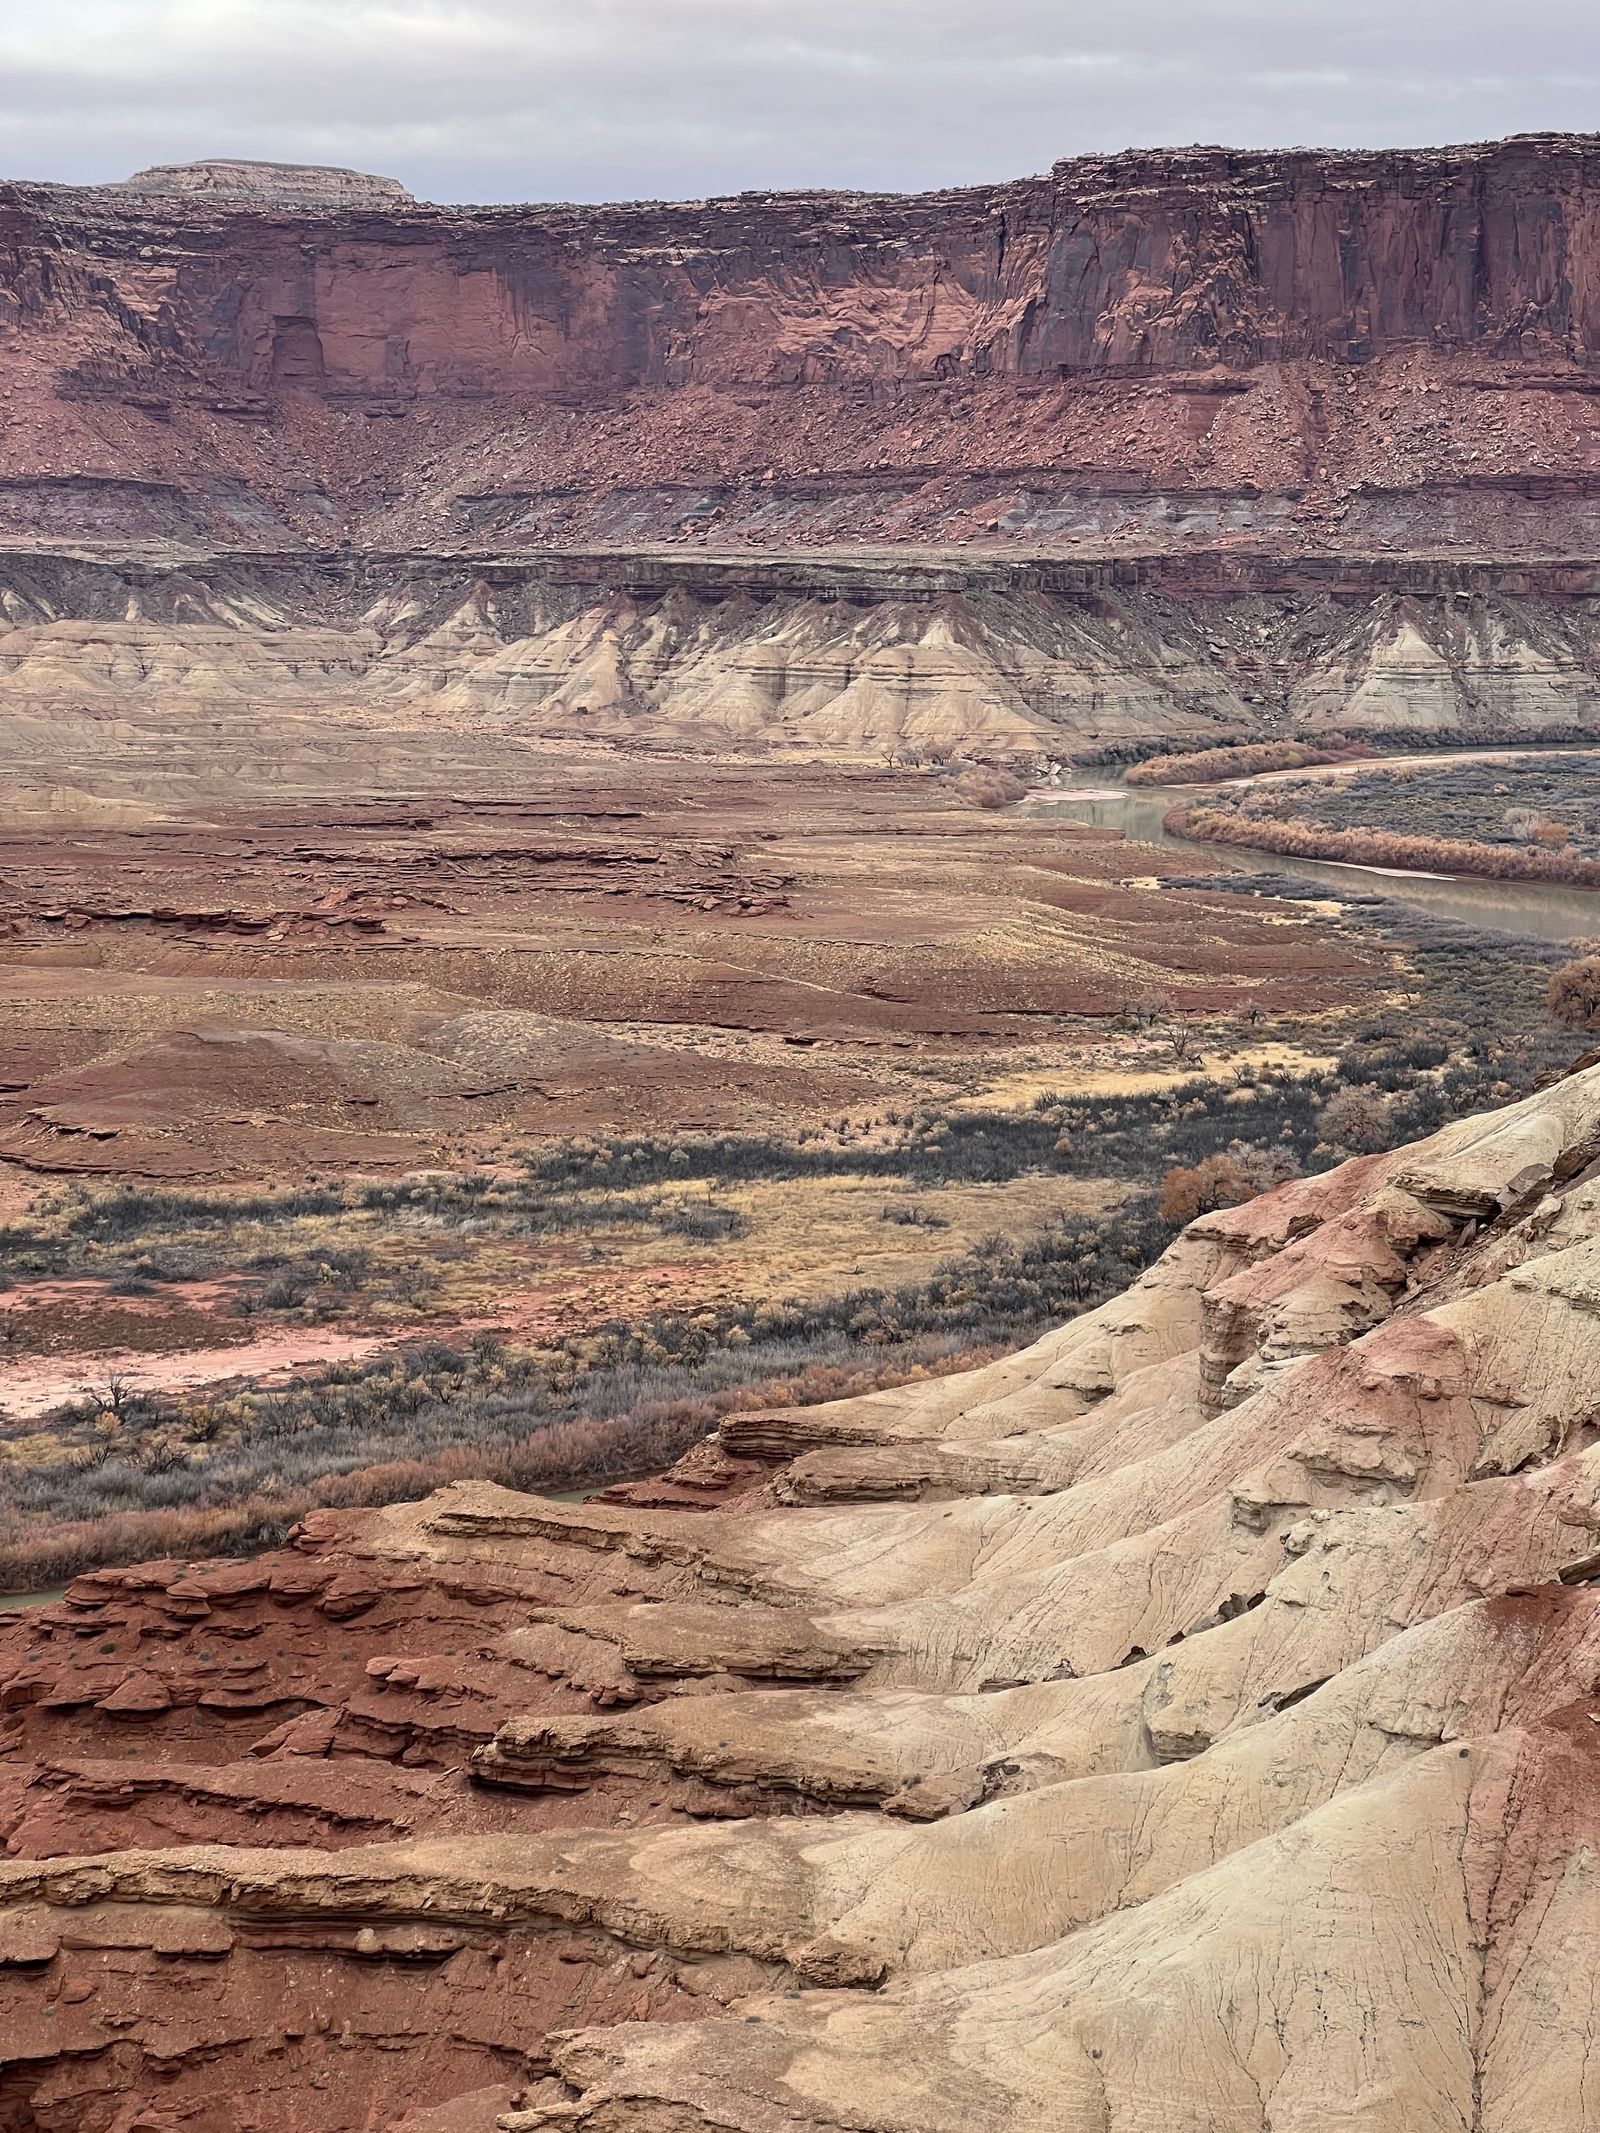
What’s the road like?
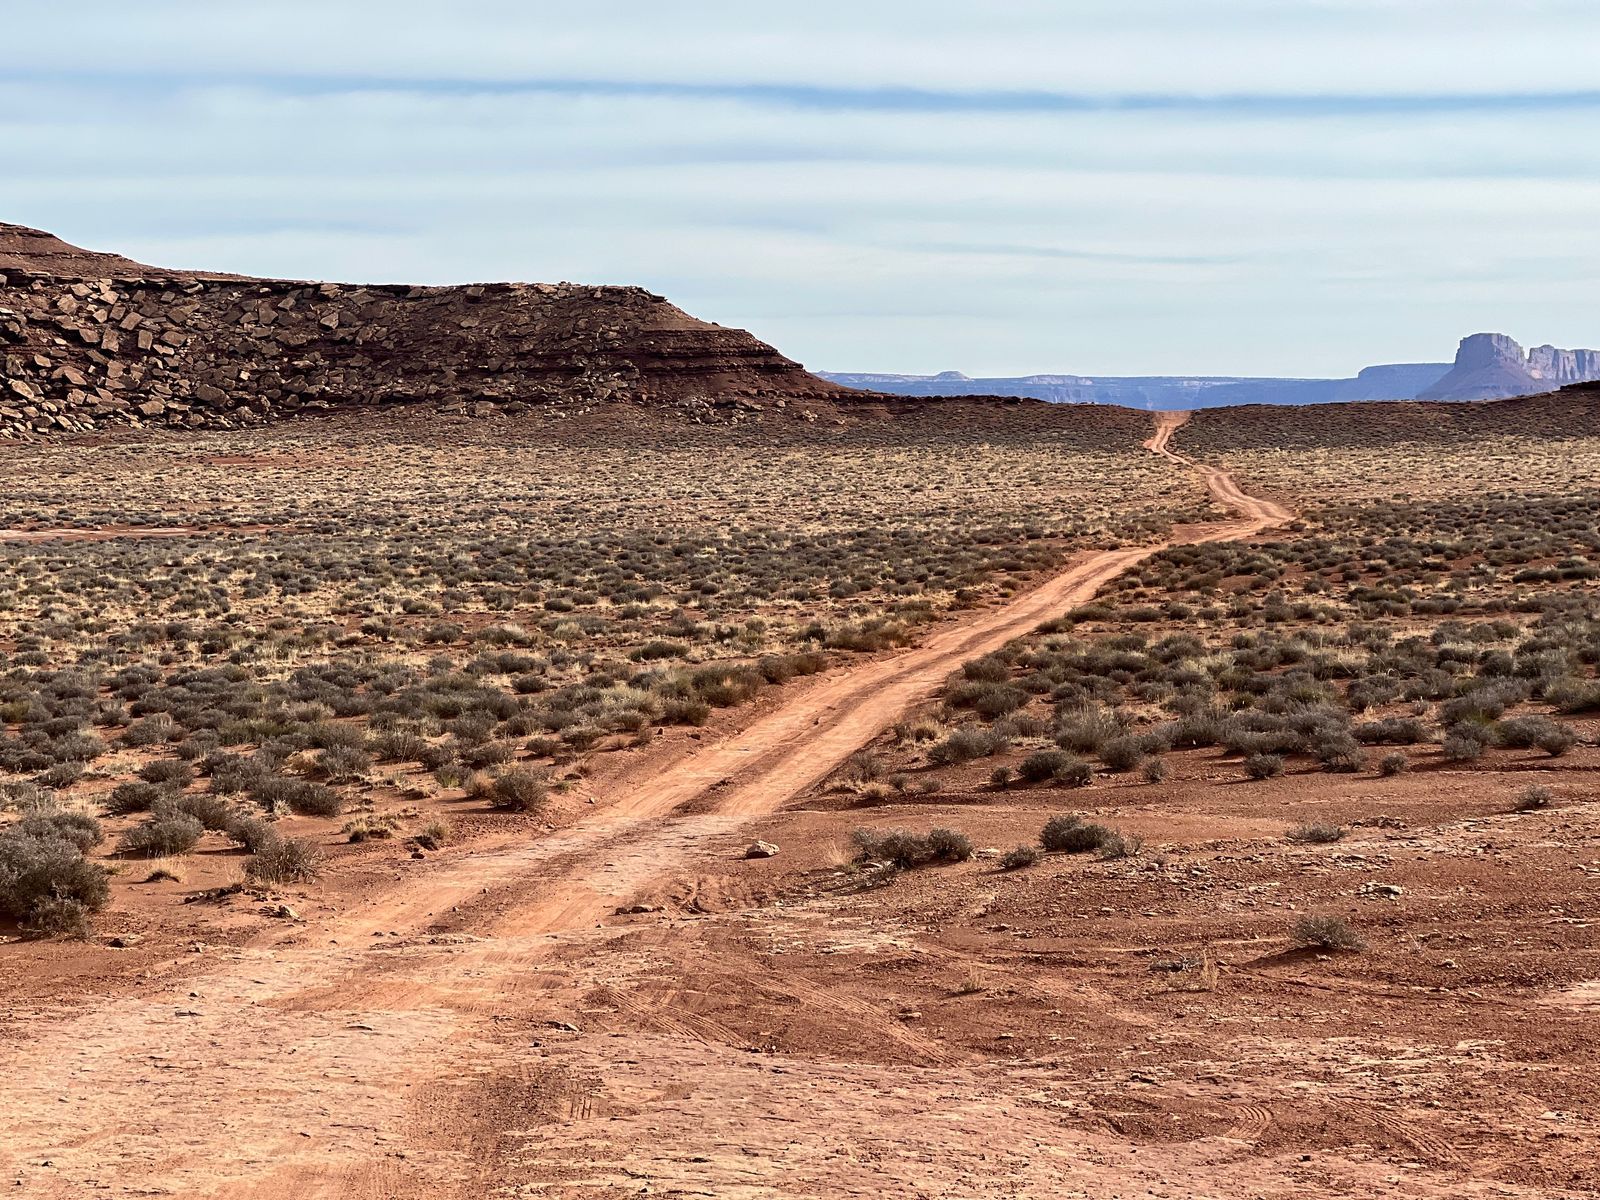
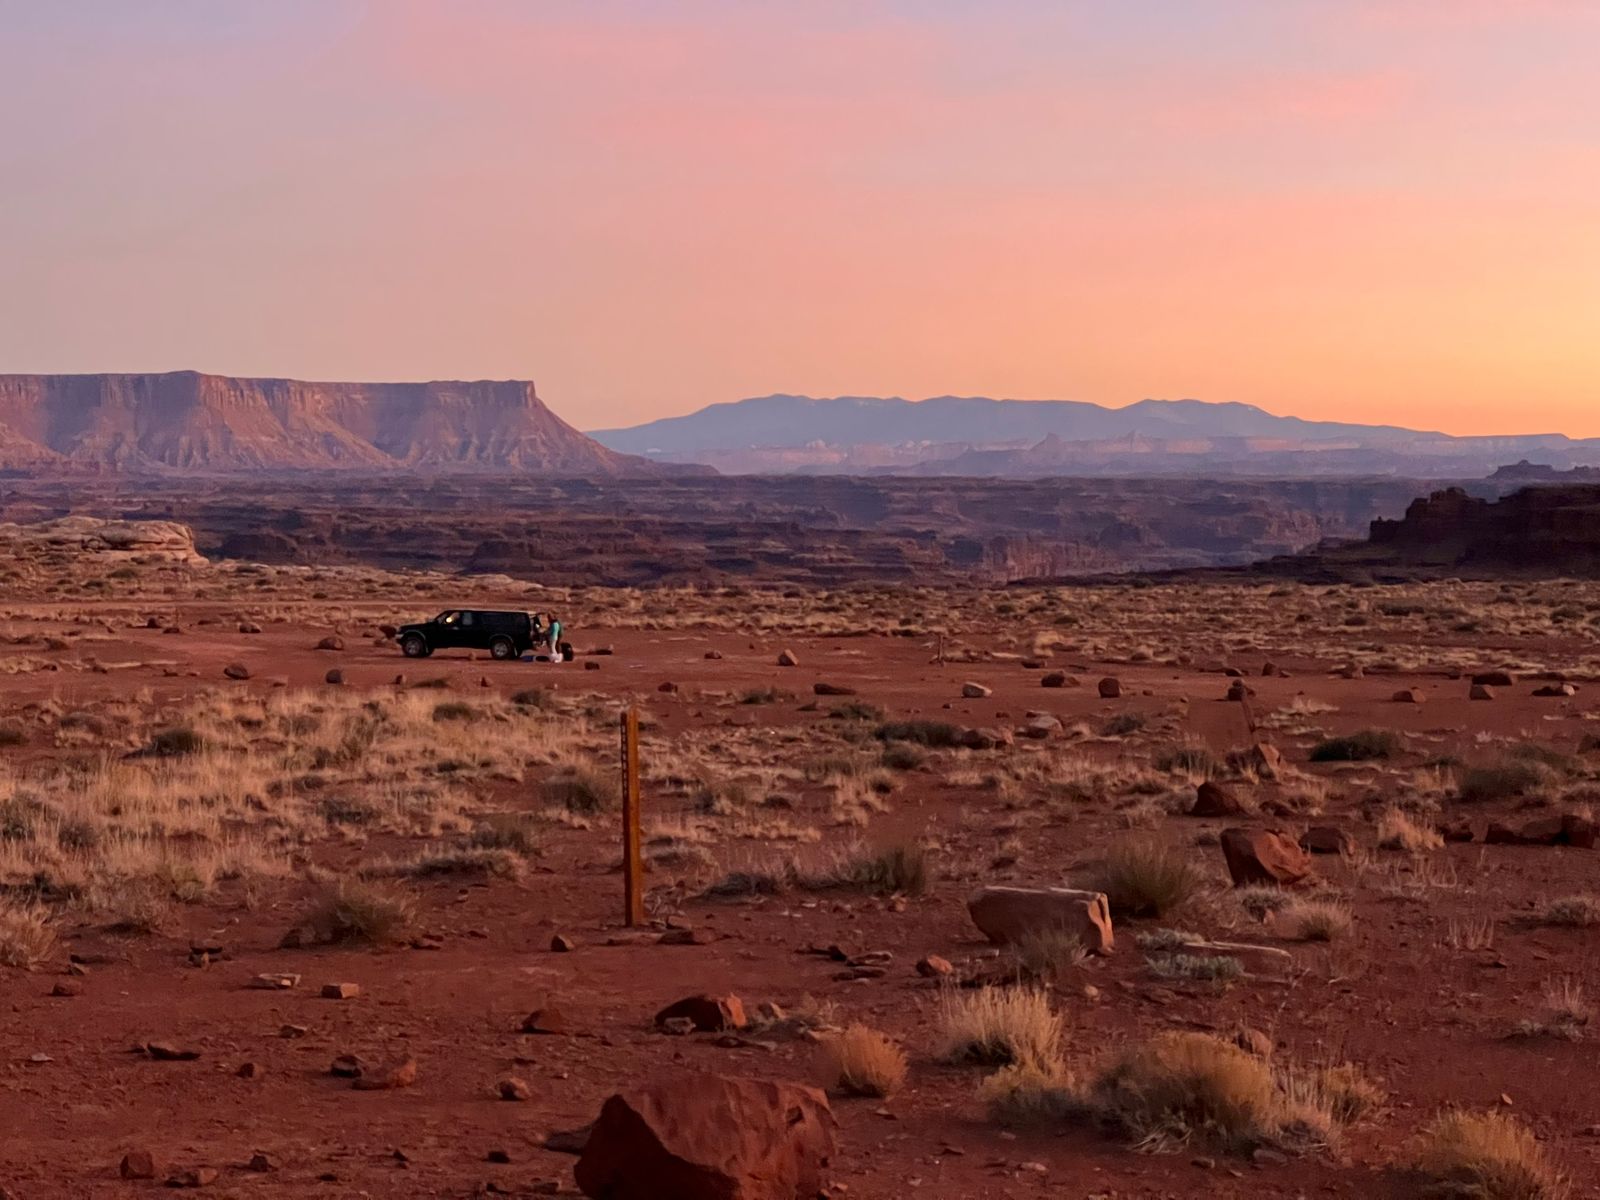
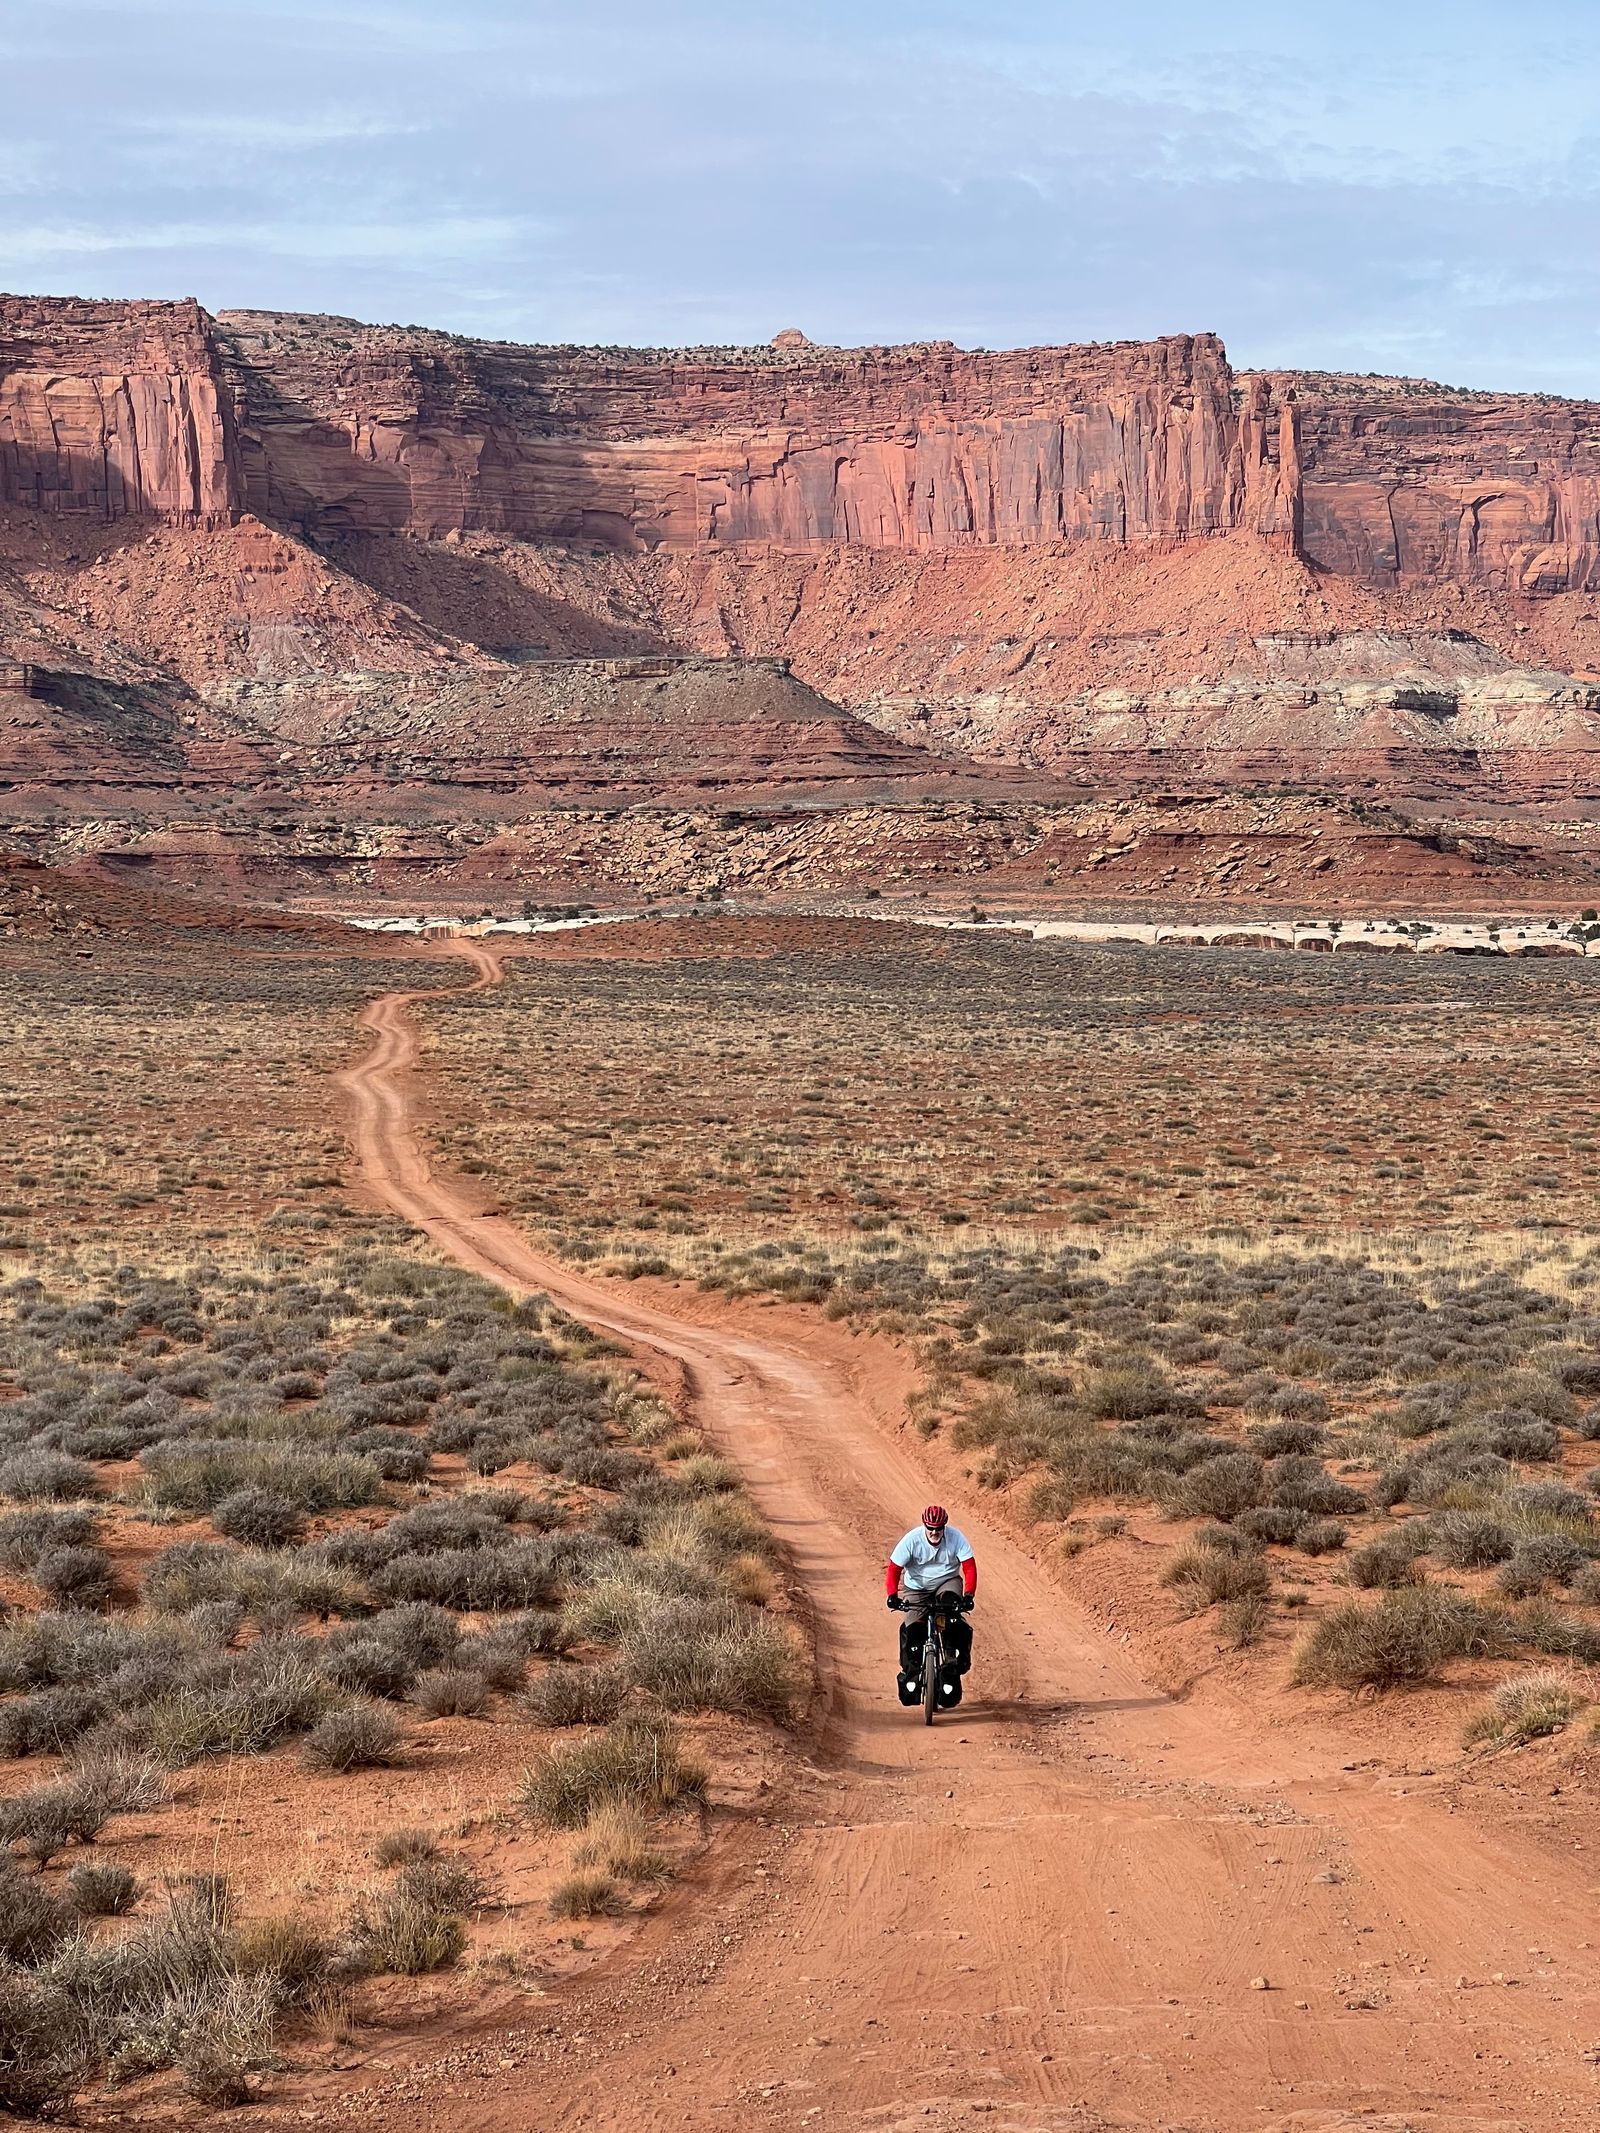
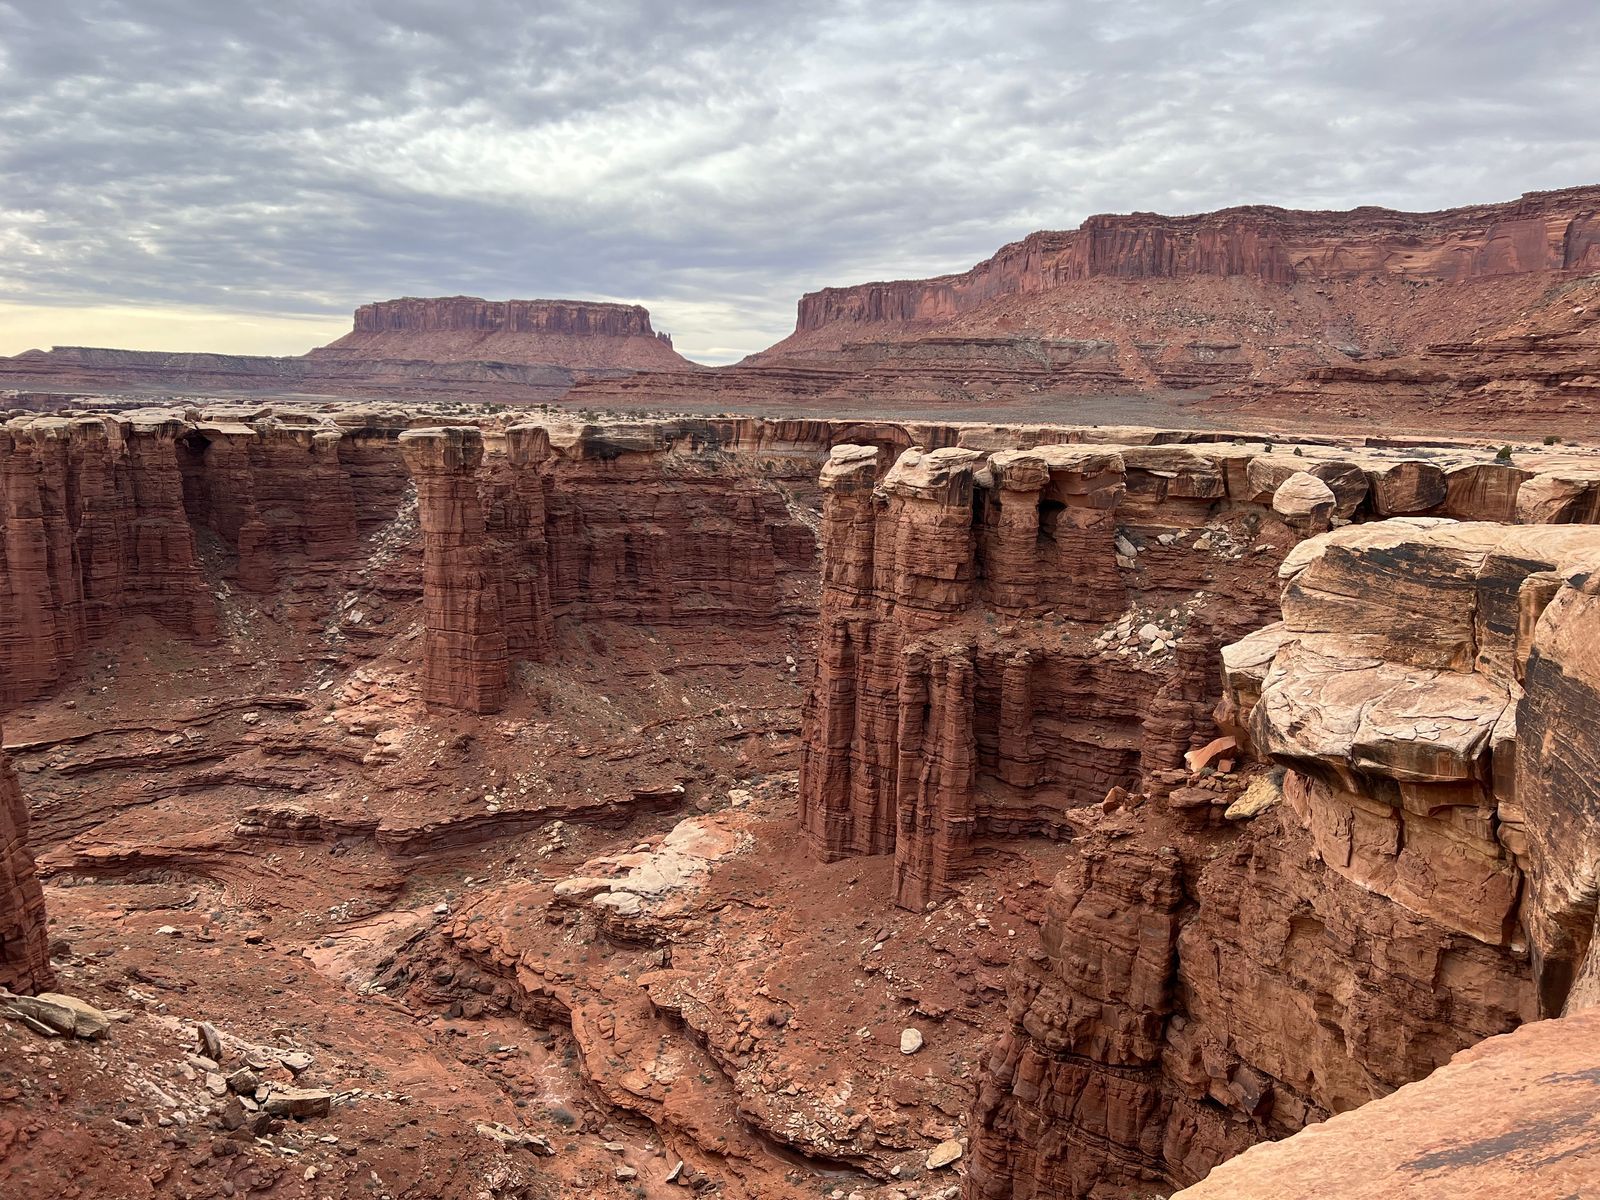
This ride mainly traverses a 4x4 road below the Island in the Sky mesa. In general, it’s a very bumpy two-track alternating between shallow sand, hard slickrock (which is not actually slick), rocky dirt, or a combination of all three.
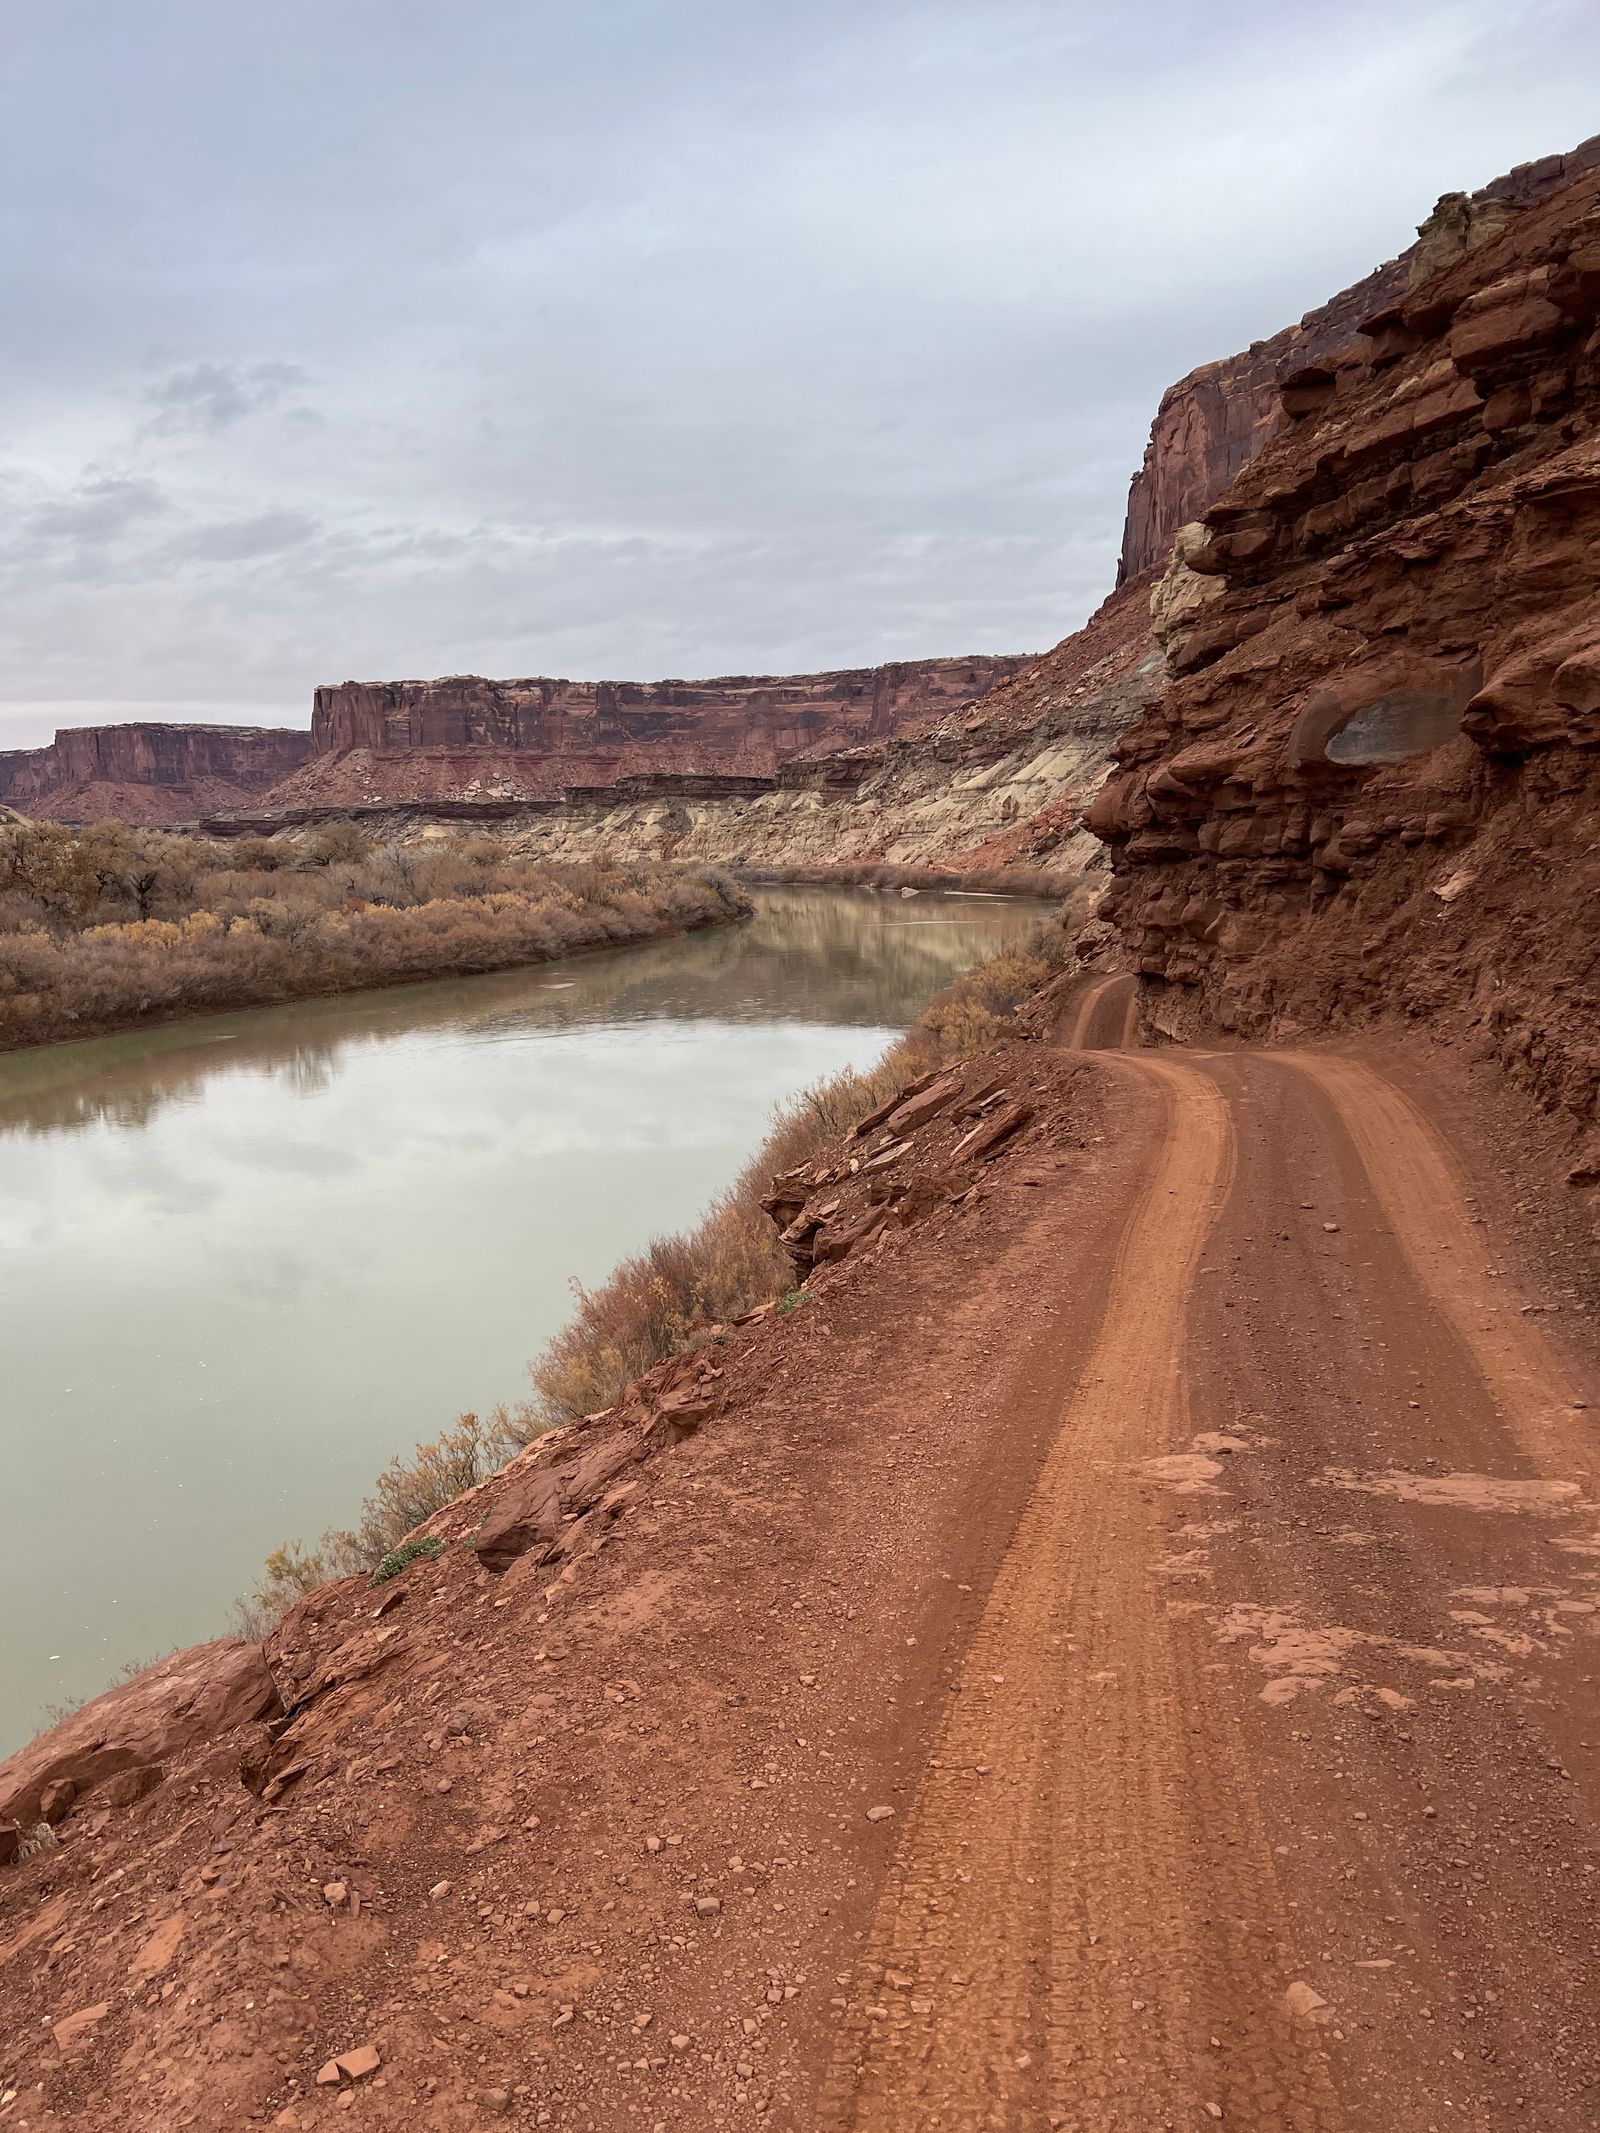
The northern quarter of the ride is on a regular dirt county road, and goes on the paved two-lane highway for a bit too (with a nice shoulder).
As someone who’s not always fond of unsafe-feeling heights, this road keeps you a safe distance from drop-offs. And car traffic (at least when I went) was extremely minimal—about 1-2 per day.
Elevation is typically rolling, with some short steep climbs and descents, four long descents, and four long climbs.
What type of bike is best?
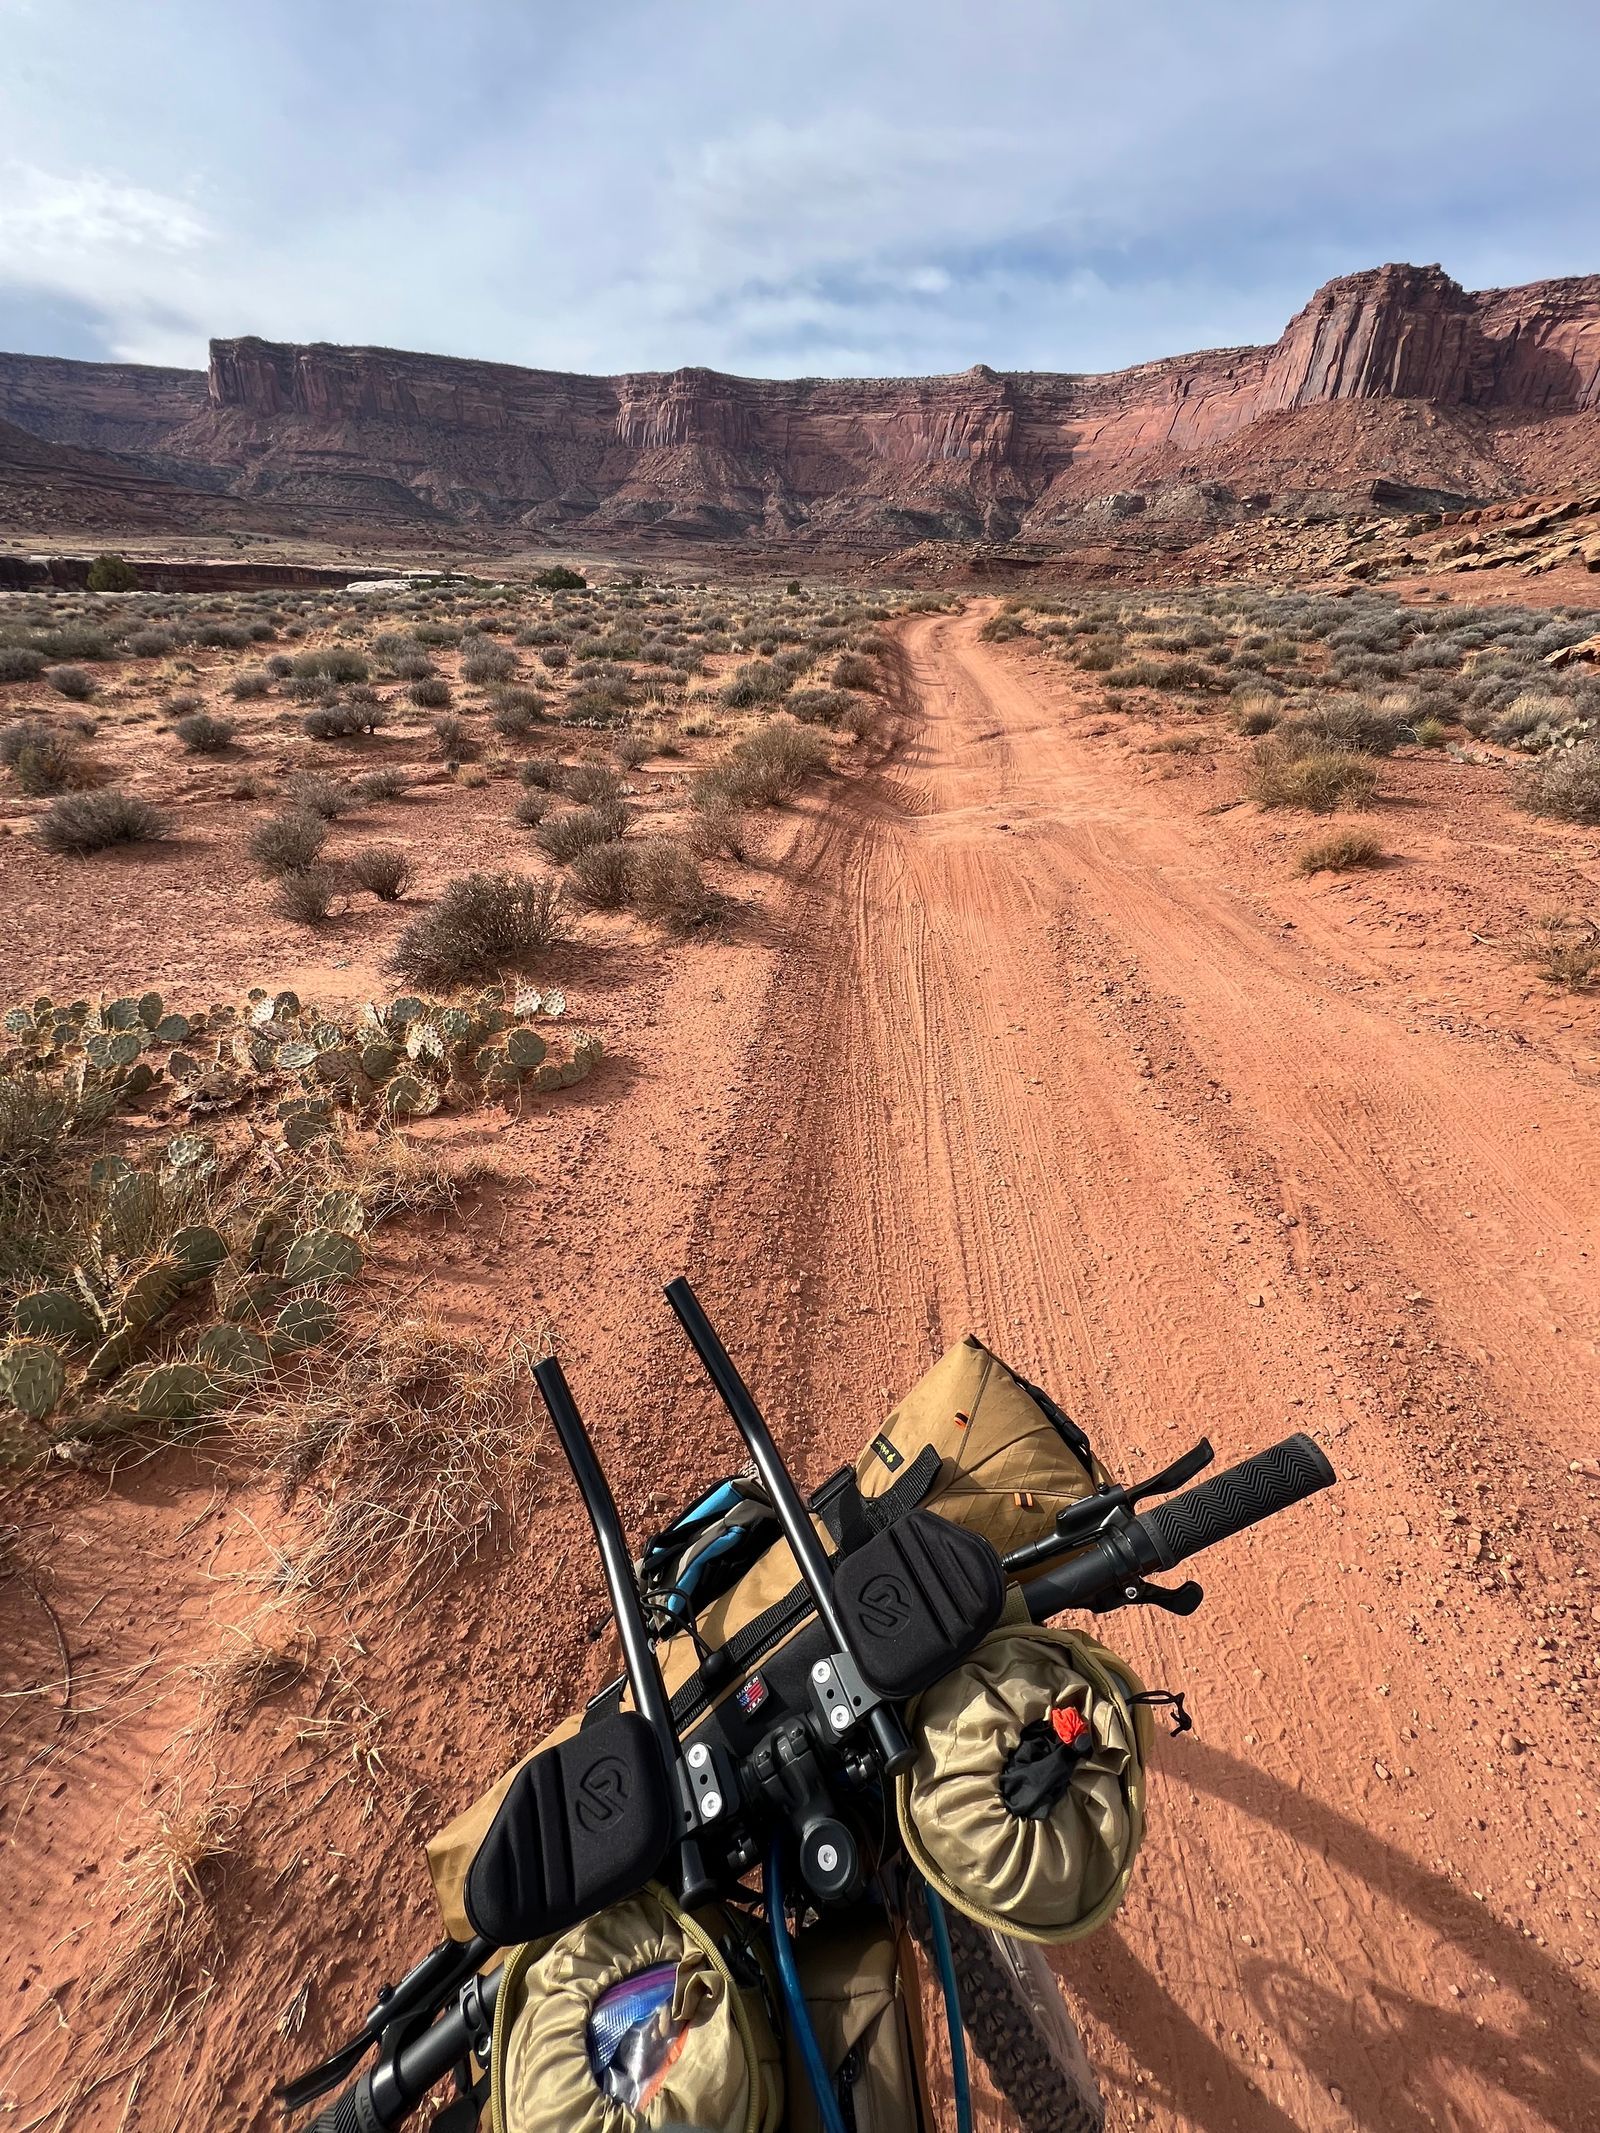
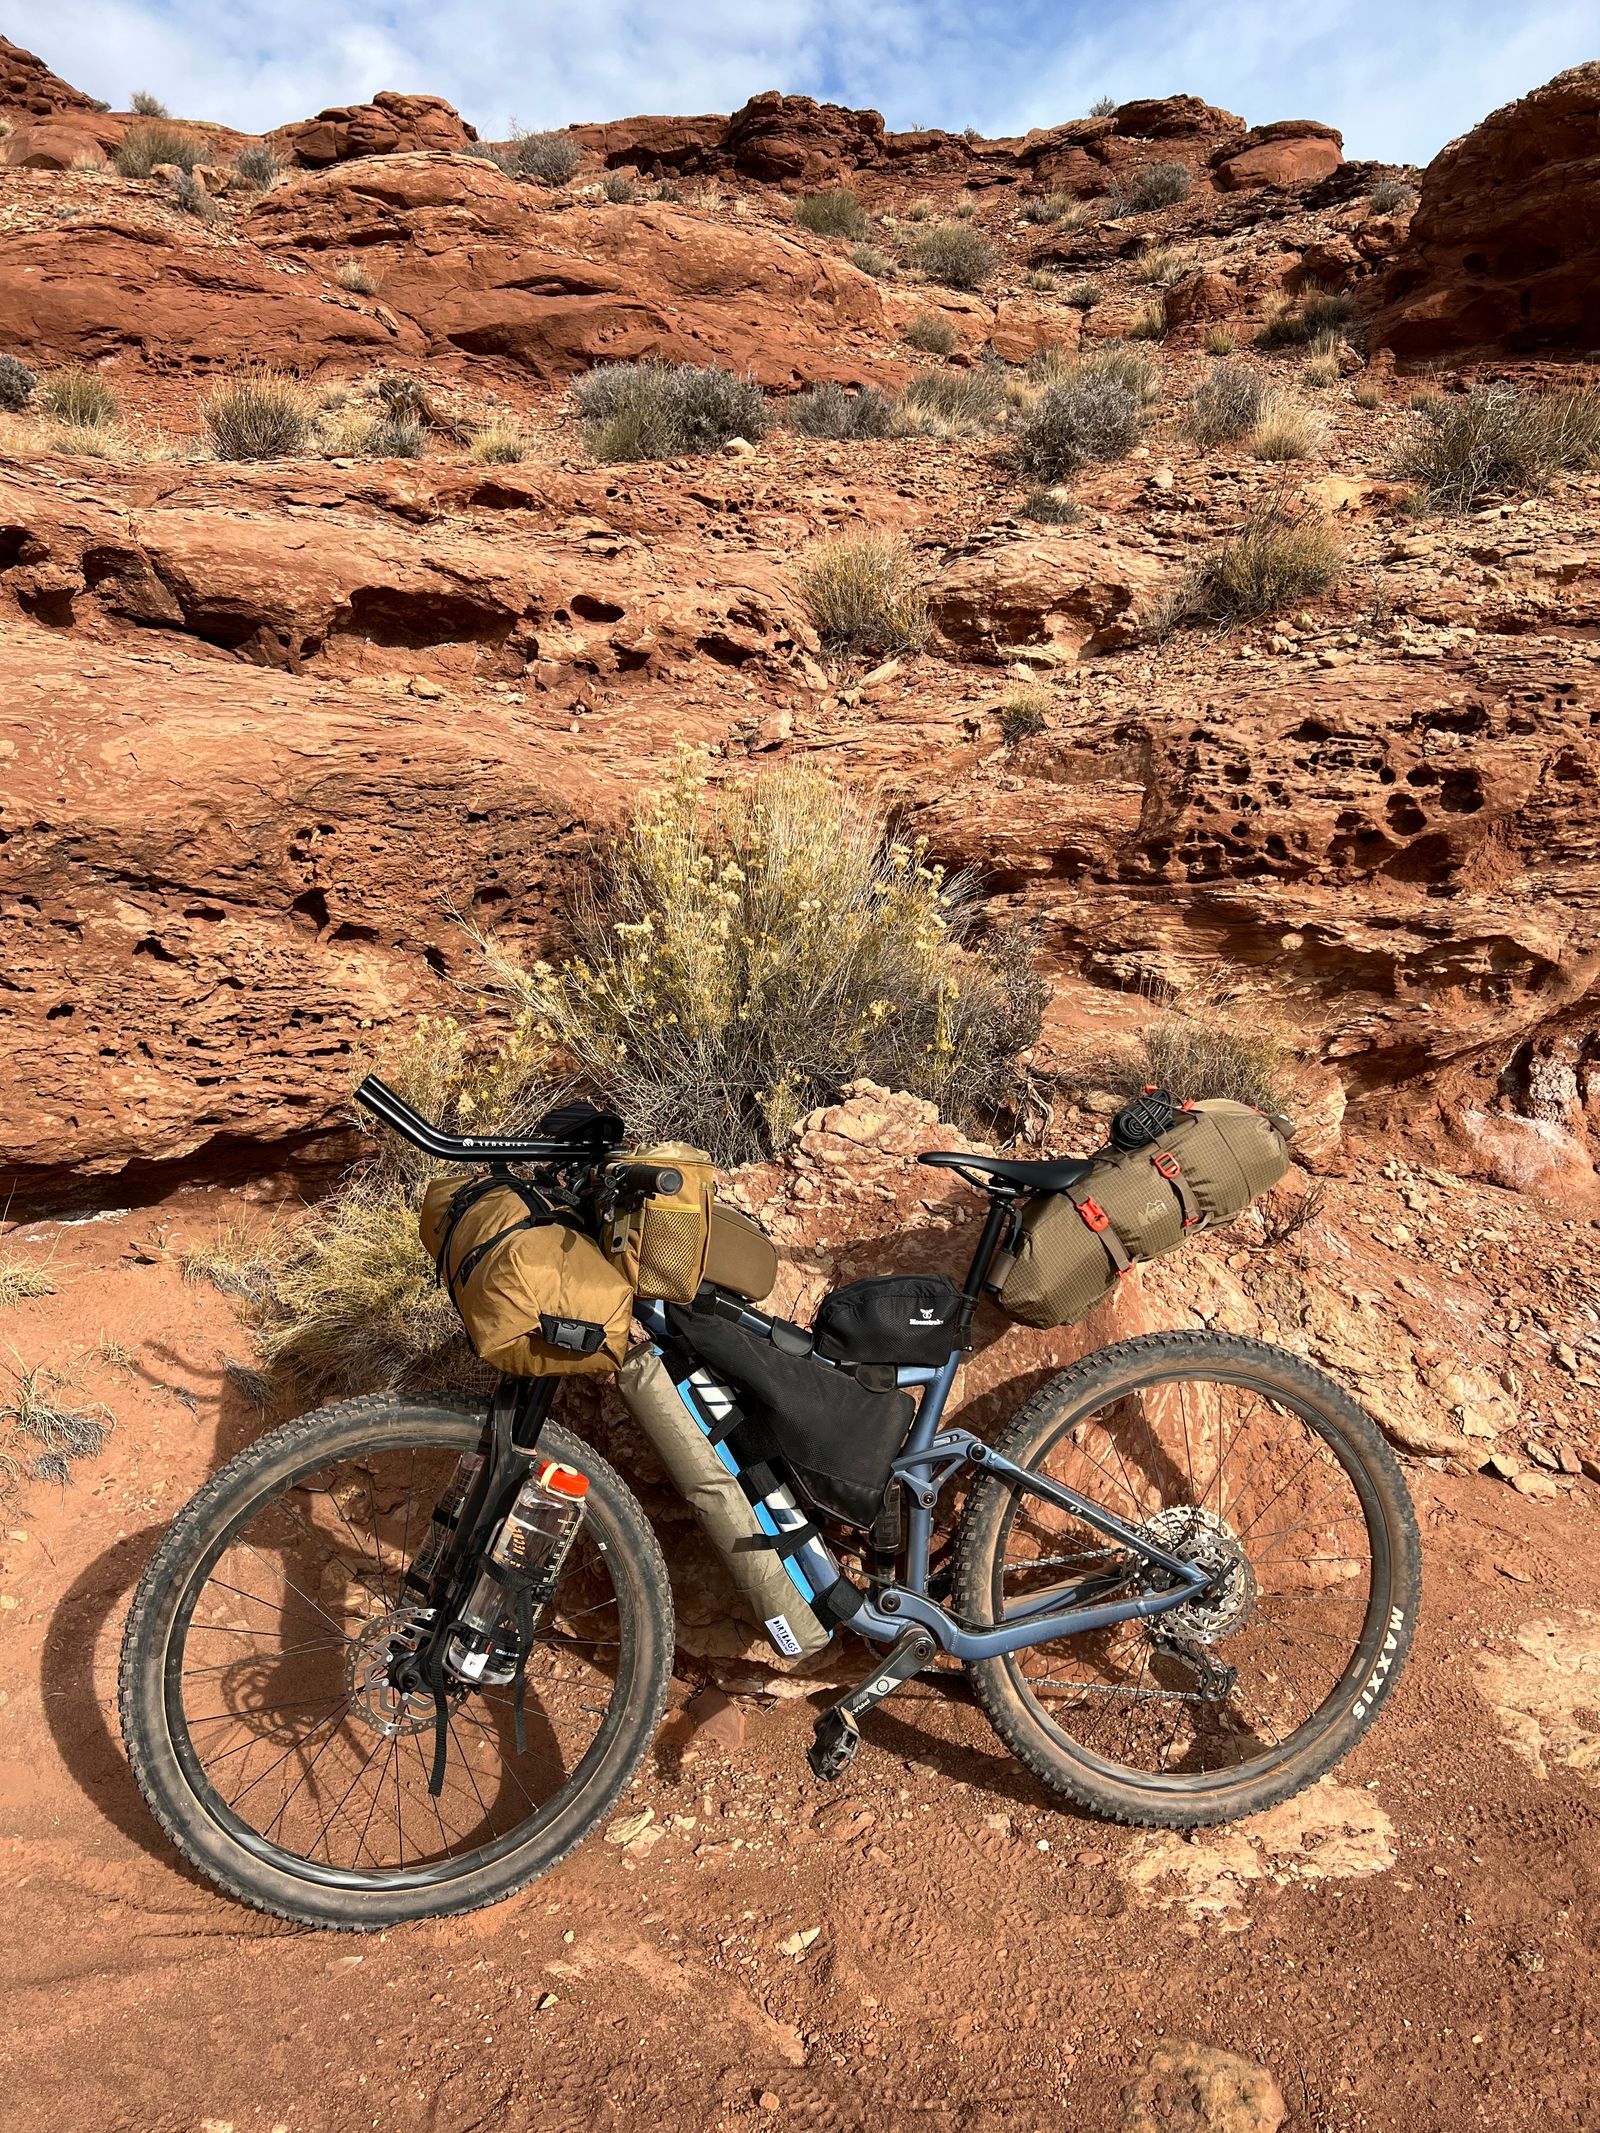
I went back and forth a lot on whether to bring my gravel bike with big-ish 700x47mm tires, or my full-suspension mountain bike with 29x2.4” tires. I cannot say this with enough conviction: choose your mountain bike.
Riding a gravel bike on this road is technically possible, in the sense people have done it, but you’ll be significantly underbiking for at least 50-60 miles of the route. It’s more than a bumpy dirt road: there’s drops, divots, rocks, sand, and more. This isn't a smooth midwestern dirt road.
If you ride a gravel bike, expect to be slower than those on mountain bikes, less comfortable, less confident, and less likely to make it up climbs. You’ll also be staring at the ground constantly in order to pick lines, instead of enjoying the views. There’s no upside to riding a gravel bike on this road—unless it’s the only bike you have and you don’t want to rent something else.
It was even to the point where I was happy to be riding a full-suspension MTB over a hardtail, though of course that’s a popular choice for this ride.
To summarize, the key things you’ll want your bike to have for the fastest, safest, and most comfortable ride:
- Suspension for the many, many bumps, drops, and rocky descents
- Big tires (ideally 2.4”+) for sand, traction, and cushion
- Very low gearing for the long sustained climbs and the short punchy ones (I used my 51t gear often!)
- Good brakes for the long gradual descents and short steep ones
I found my 2021 Giant Stance 2 ($1,720) perfect for this ride. I attached the Redshift clip-on aero bars as well—didn't use them a ton, but was nice to switch up my position every now and then.
Best time of year
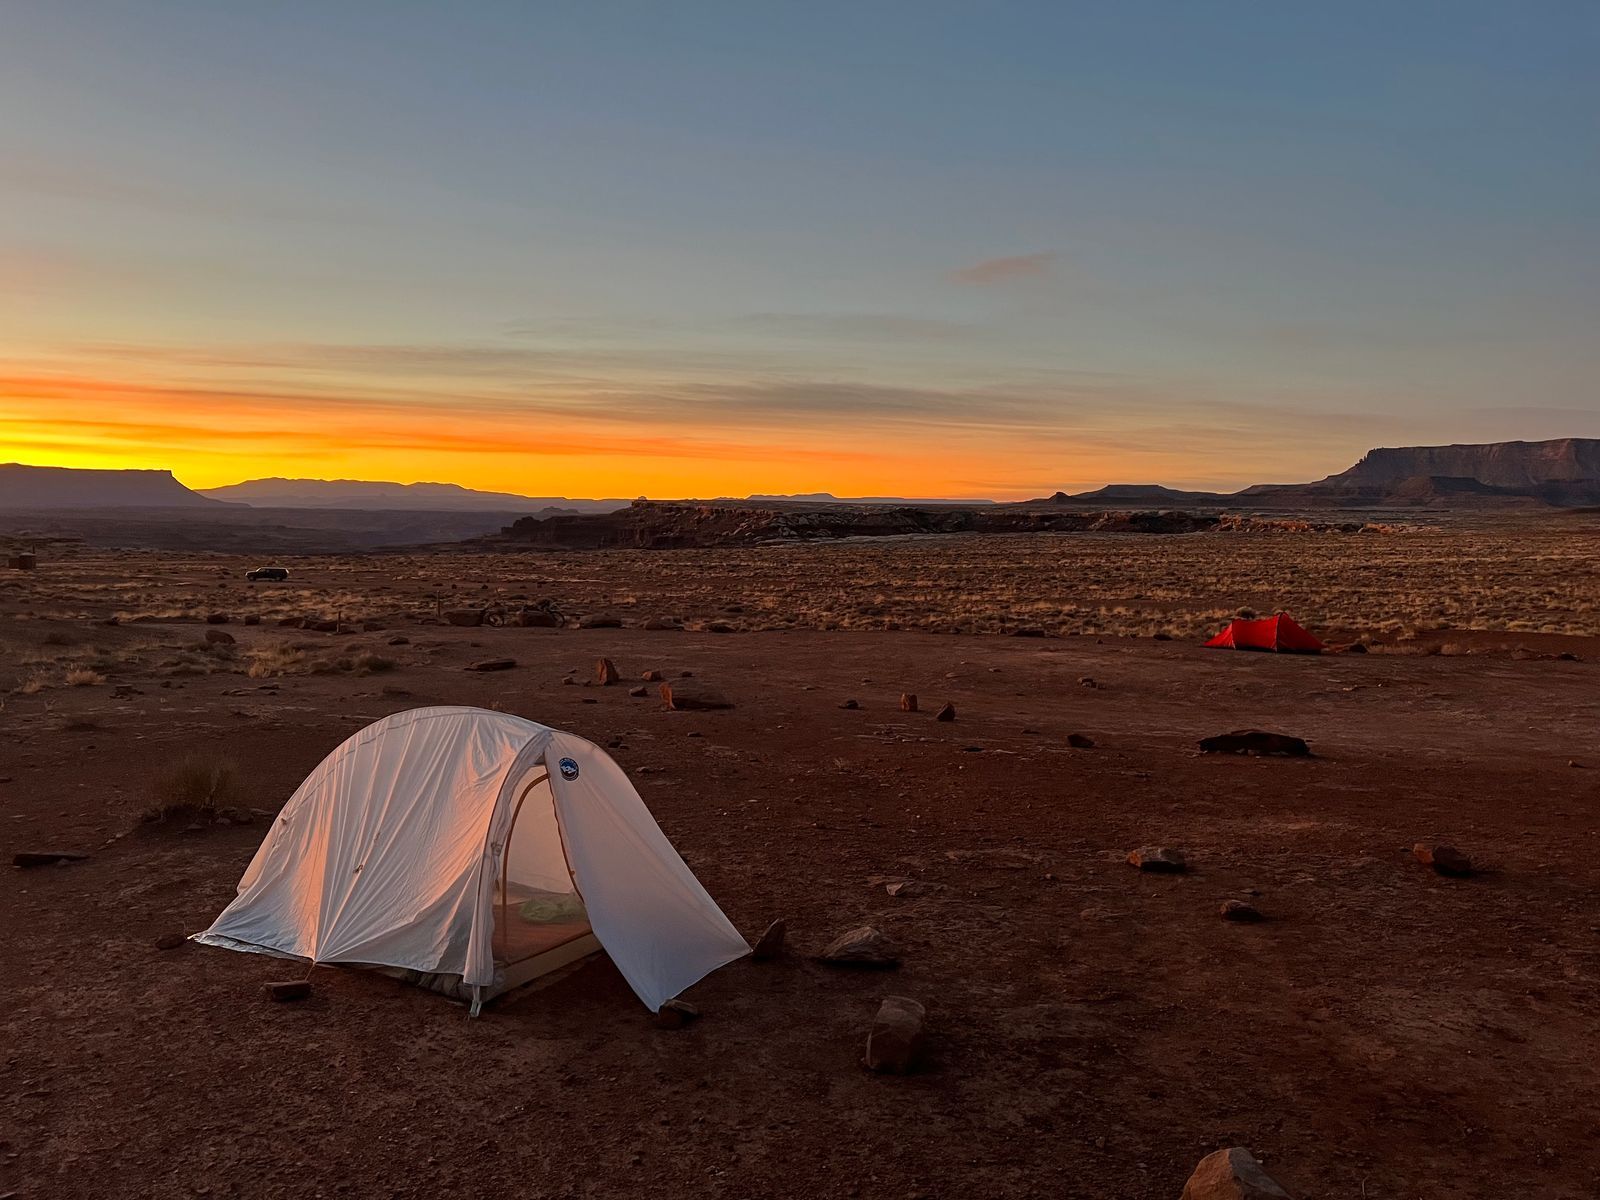
Most people do this in April, May, October, and November. I did it December 5-8.
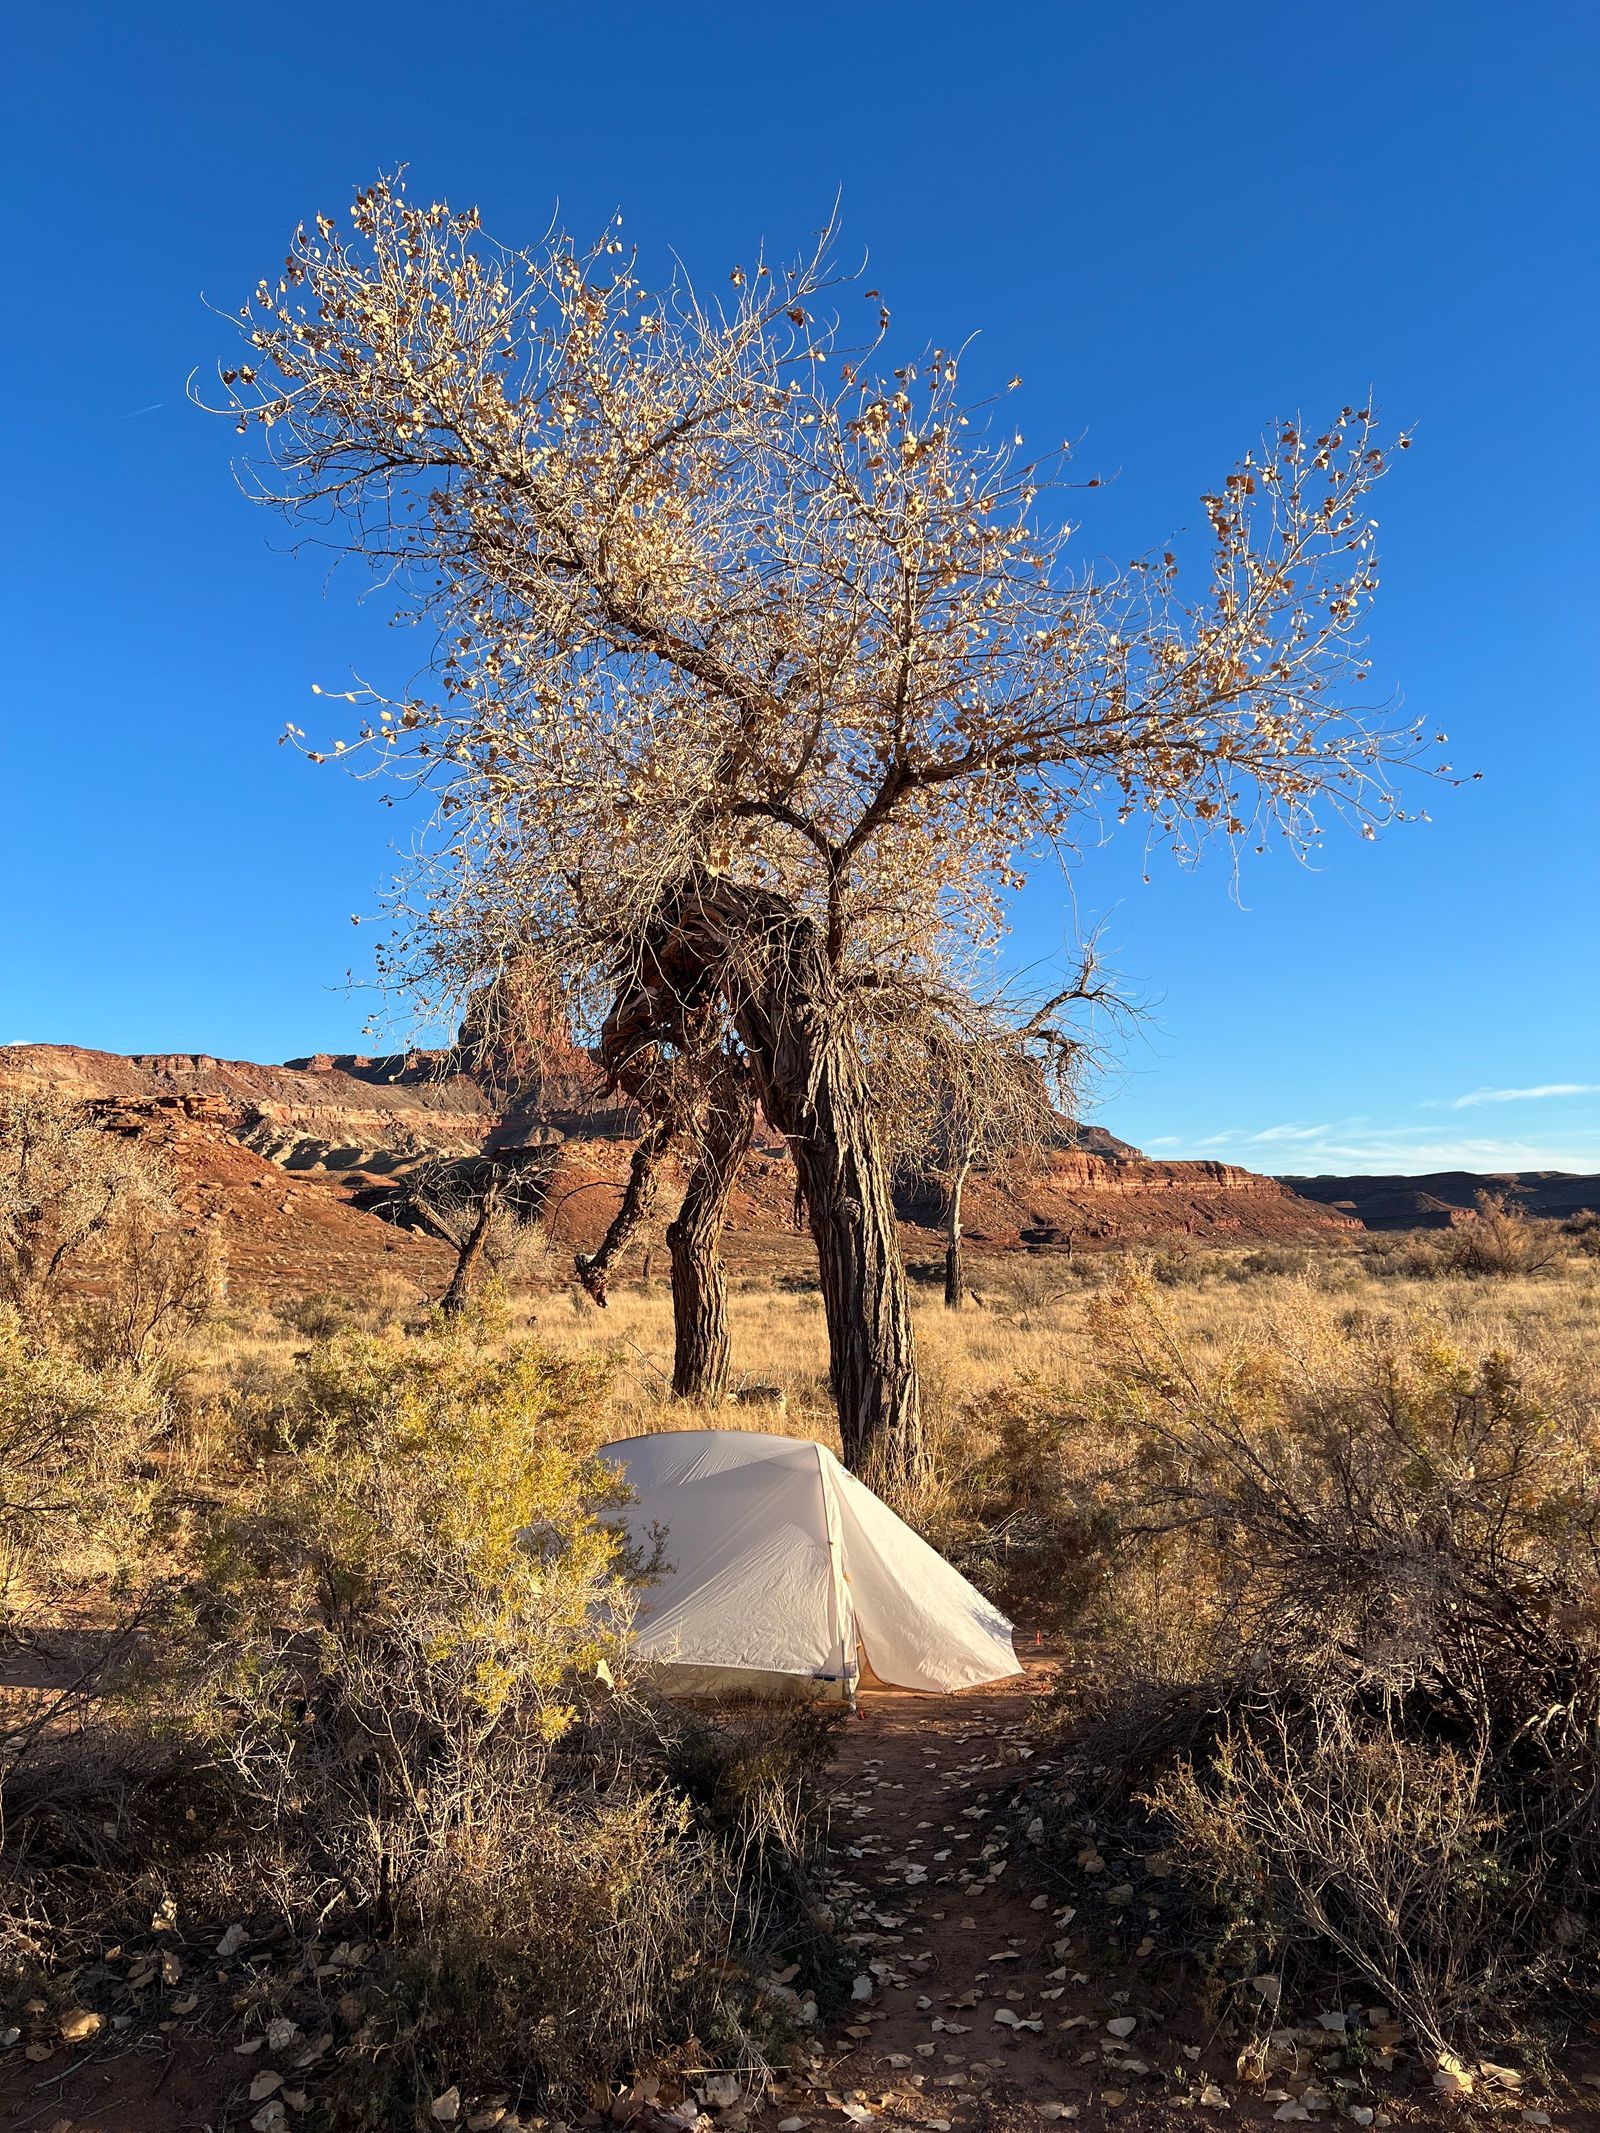
This is probably the latest into winter you’d want to do the ride, unless a warm spell happens. We had 40s-50s F temps during the day and 20s-30s at night. It rained one night, and the last night we woke up with frost all over our bikes.
That said, the temps during the day were perfect for riding, the weather was generally sunny and pleasant, and my water consumption was much lower than if I rode when it was in the 60s or 70s.
We had just enough daylight to complete each day at a leisurely pace. The days after we left saw rain/snow and below 20º temps at night, which wouldn’t have been quite as fun.
Note: I was afraid rain would make the road impassable due to the formation of sticky clay, but this isn’t the case. A ranger confirmed that unless there’s a monsoon, a bit of rain can actually help firm up the sandy parts. For example, after it rained all night, the road was fine the next morning.
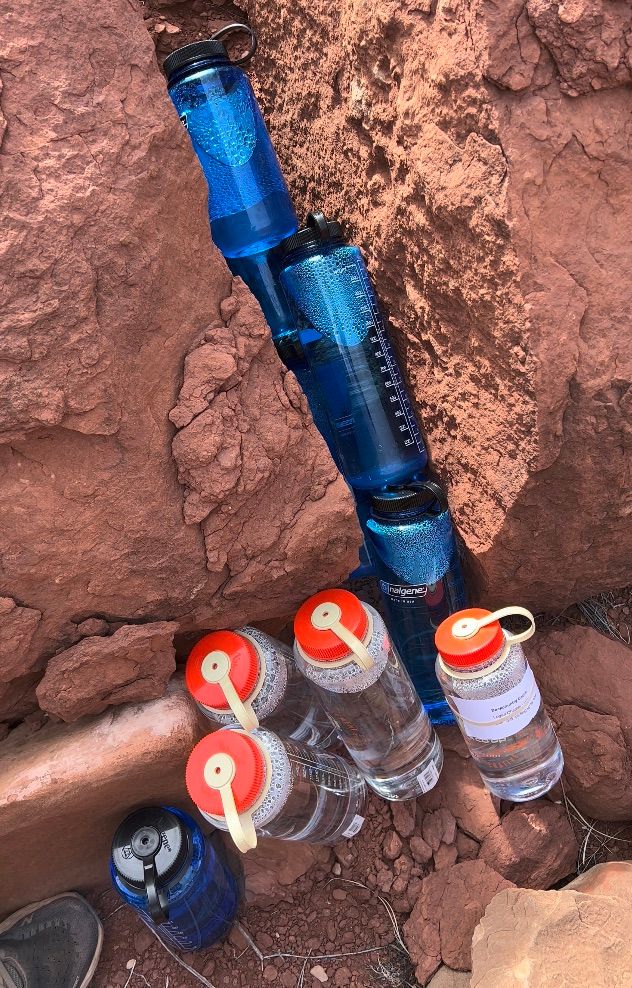
How to have enough water
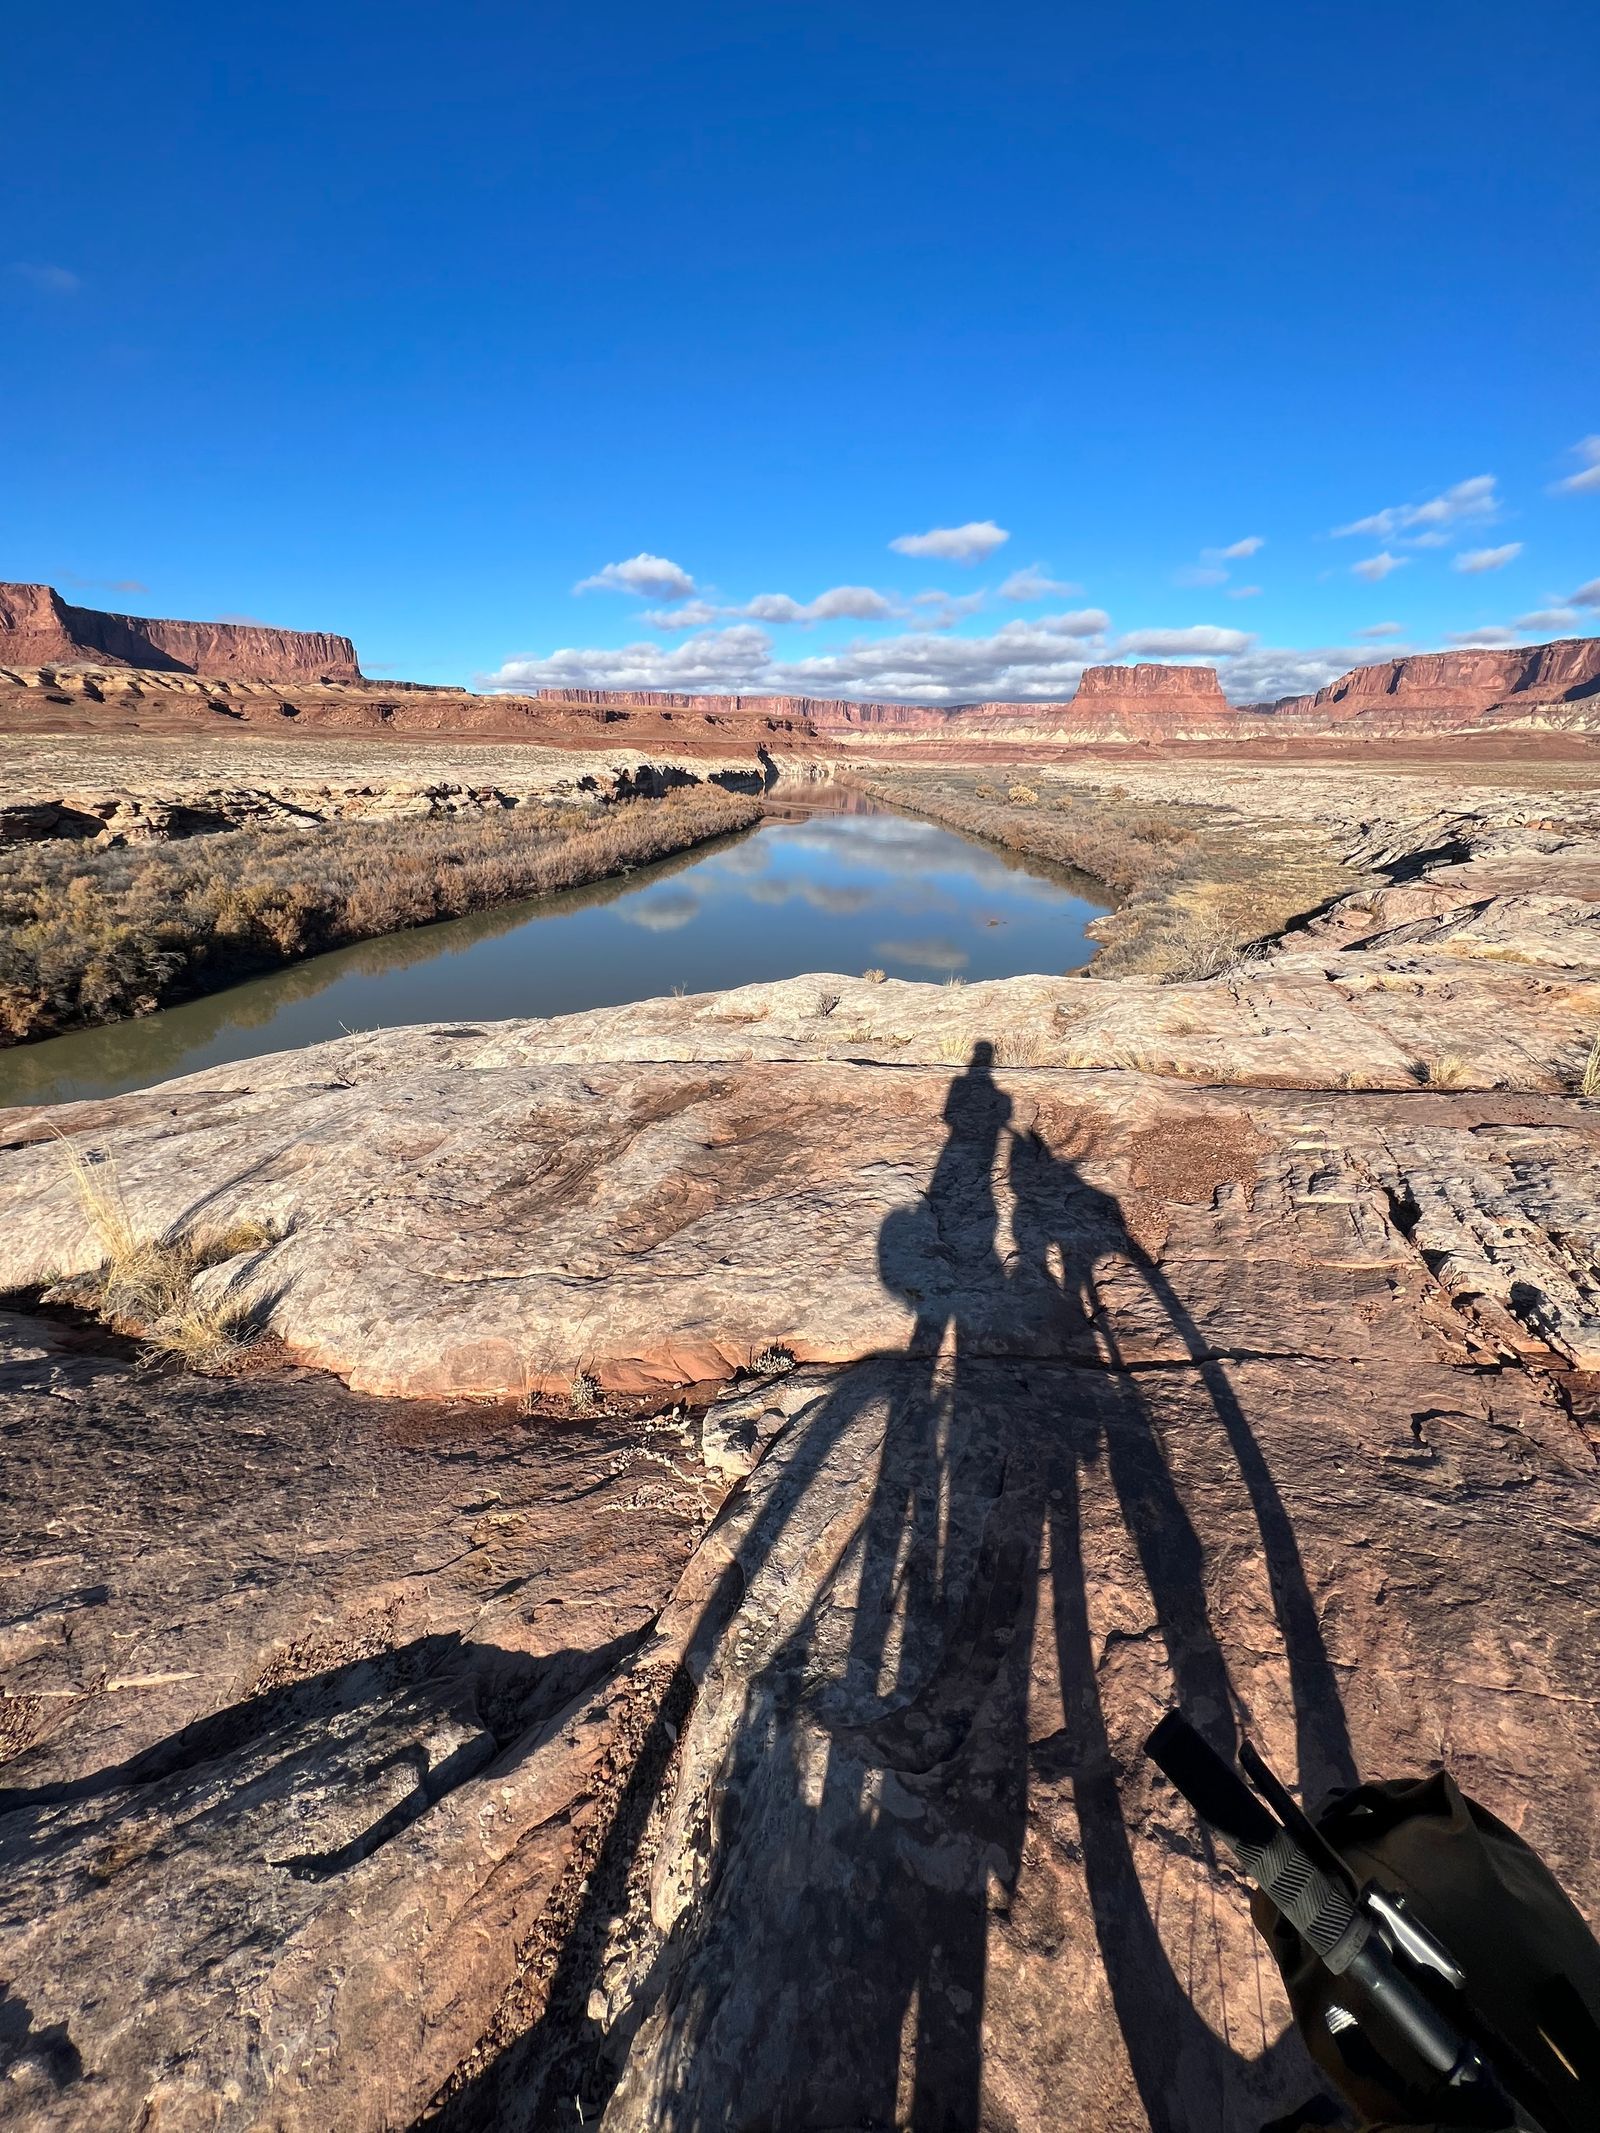
This is your main hurdle to completing this ride. Fill ups along the route are limited to the visitor center and the Green River near Potato Bottom (which is full of silt).
Time the weather
A major benefit to riding during the cooler months is you'll need less water—my water consumption was only 2L per day. That said, I would still plan on 3L of water per day, and more during warmer months—especially if you’re also cooking with water each night and/or morning.
Cache water
I got permission from the rangers (submit online after you get a permit) to cache at the start of Shafer—easily accessible by car—and Gooseberry, a steep 5 mile hike into the canyon.
Caching at the Shafer entrance is actually kinda pointless, since the visitor center is less than a mile away and you can fill up with water there.
Gooseberry was a hard—and at times sketch—2.5 mile hike down 1,500ft into the canyon. It had short steep switchbacks and hairy exposure at times. Carrying 7L of water for two people, which weighed 30lbs, was not very fun.
Keep in mind there are stories of animals getting into water and food that's in soft-shelled containers, so I'd suggest going with hard bottles like Nalgenes.
Looking back, I’m not sure it was all worth it, instead of just carrying all the water on our bikes from the start. If you follow my route below, there's just one steep—but relatively short—climb between your start point and Gooseberry. You'll likely walk some or all of it, anyway. So if you don't feel like doing the hike, and you have the carrying capacity on your bike, you can skip it.
Don't obsess about weight
Which segues nicely to my next point: despite all the attention paid to it by many bike bros online, bike weight frankly doesn’t matter much. There wasn't a huge difference in speed or handling from fully loaded vs. the last day.
Which makes people obsessing over (and paying good money for) 2-4lb lighter bikes that much more absurd. A total package of 30lb bike + 20lbs water & food + 12lbs gear + 160lb rider = 222lbs. A lighter total package of 26lb bike + 20lbs water & food + 12lbs gear + 160lb rider = 218lbs. This is a difference of less than 2%. Dropping 2-4lbs is practically unnoticeable, and I even had a hard time noticing a drop in 10-15lbs.
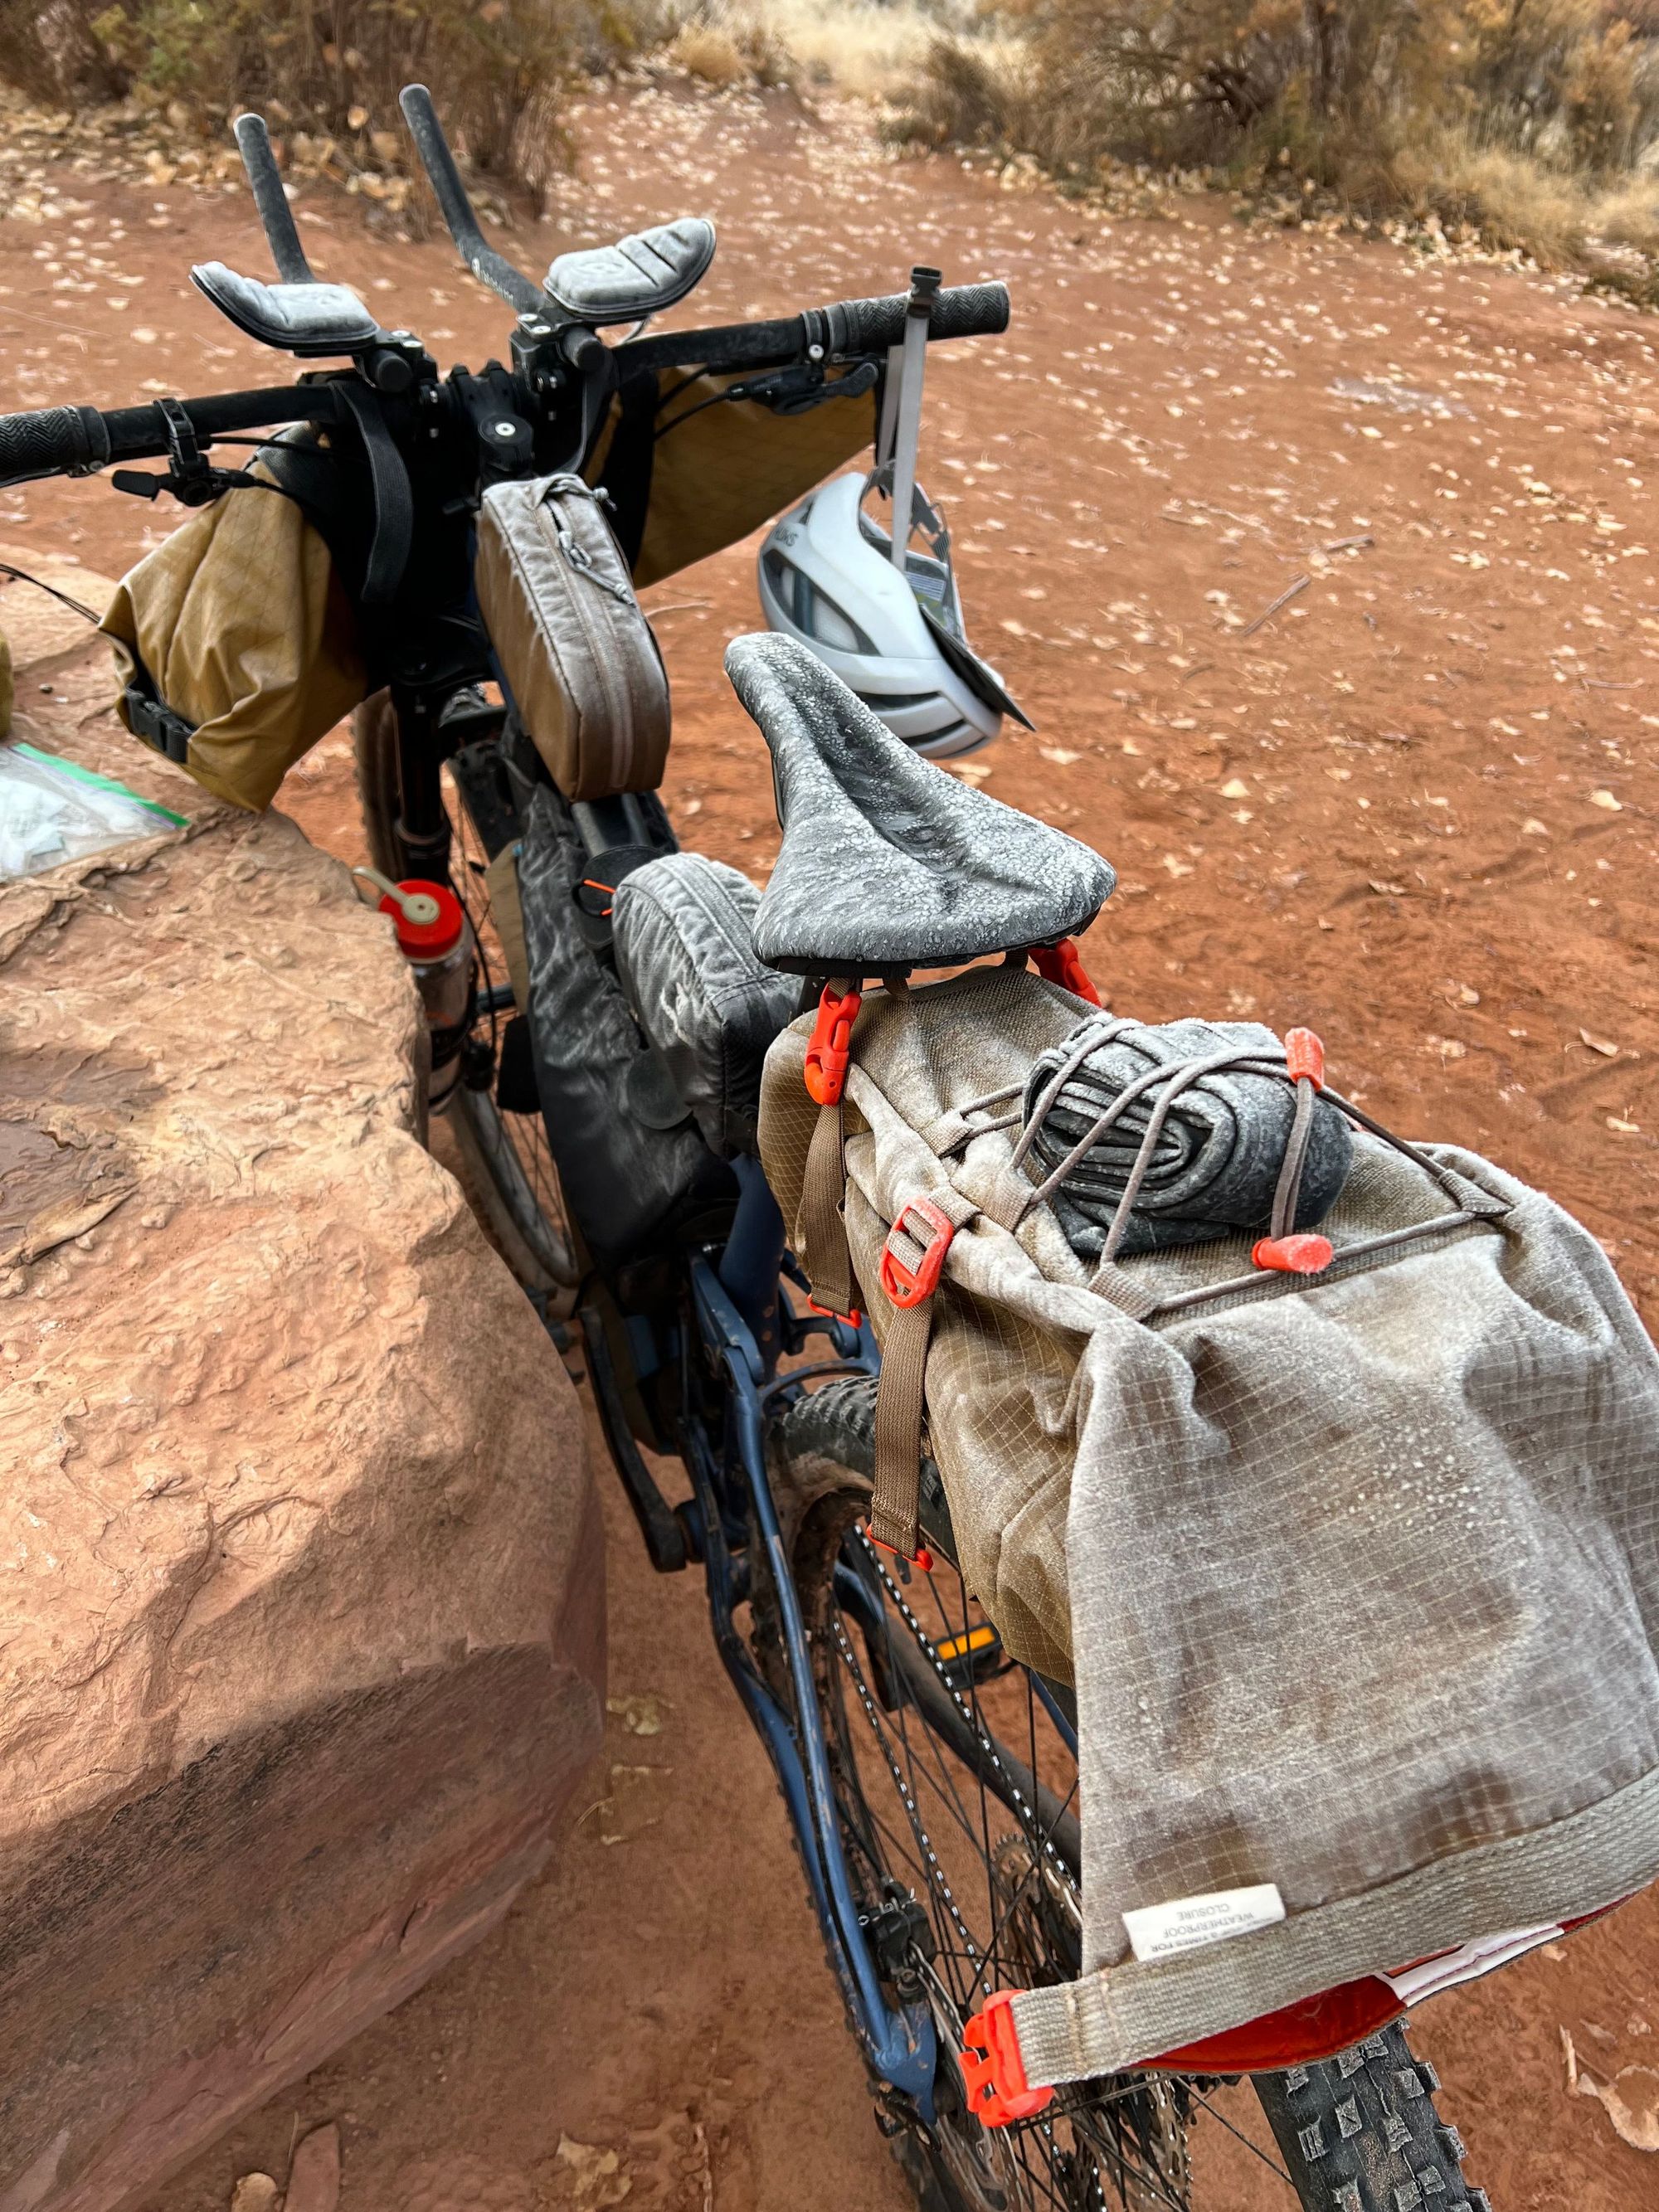
Lesson reinforced: bikepacking is very different from backpacking. With bikepacking, you’re more limited by space than weight. While I love being minimalist, I wish I had taken a couple extra comfort items!
Pacing
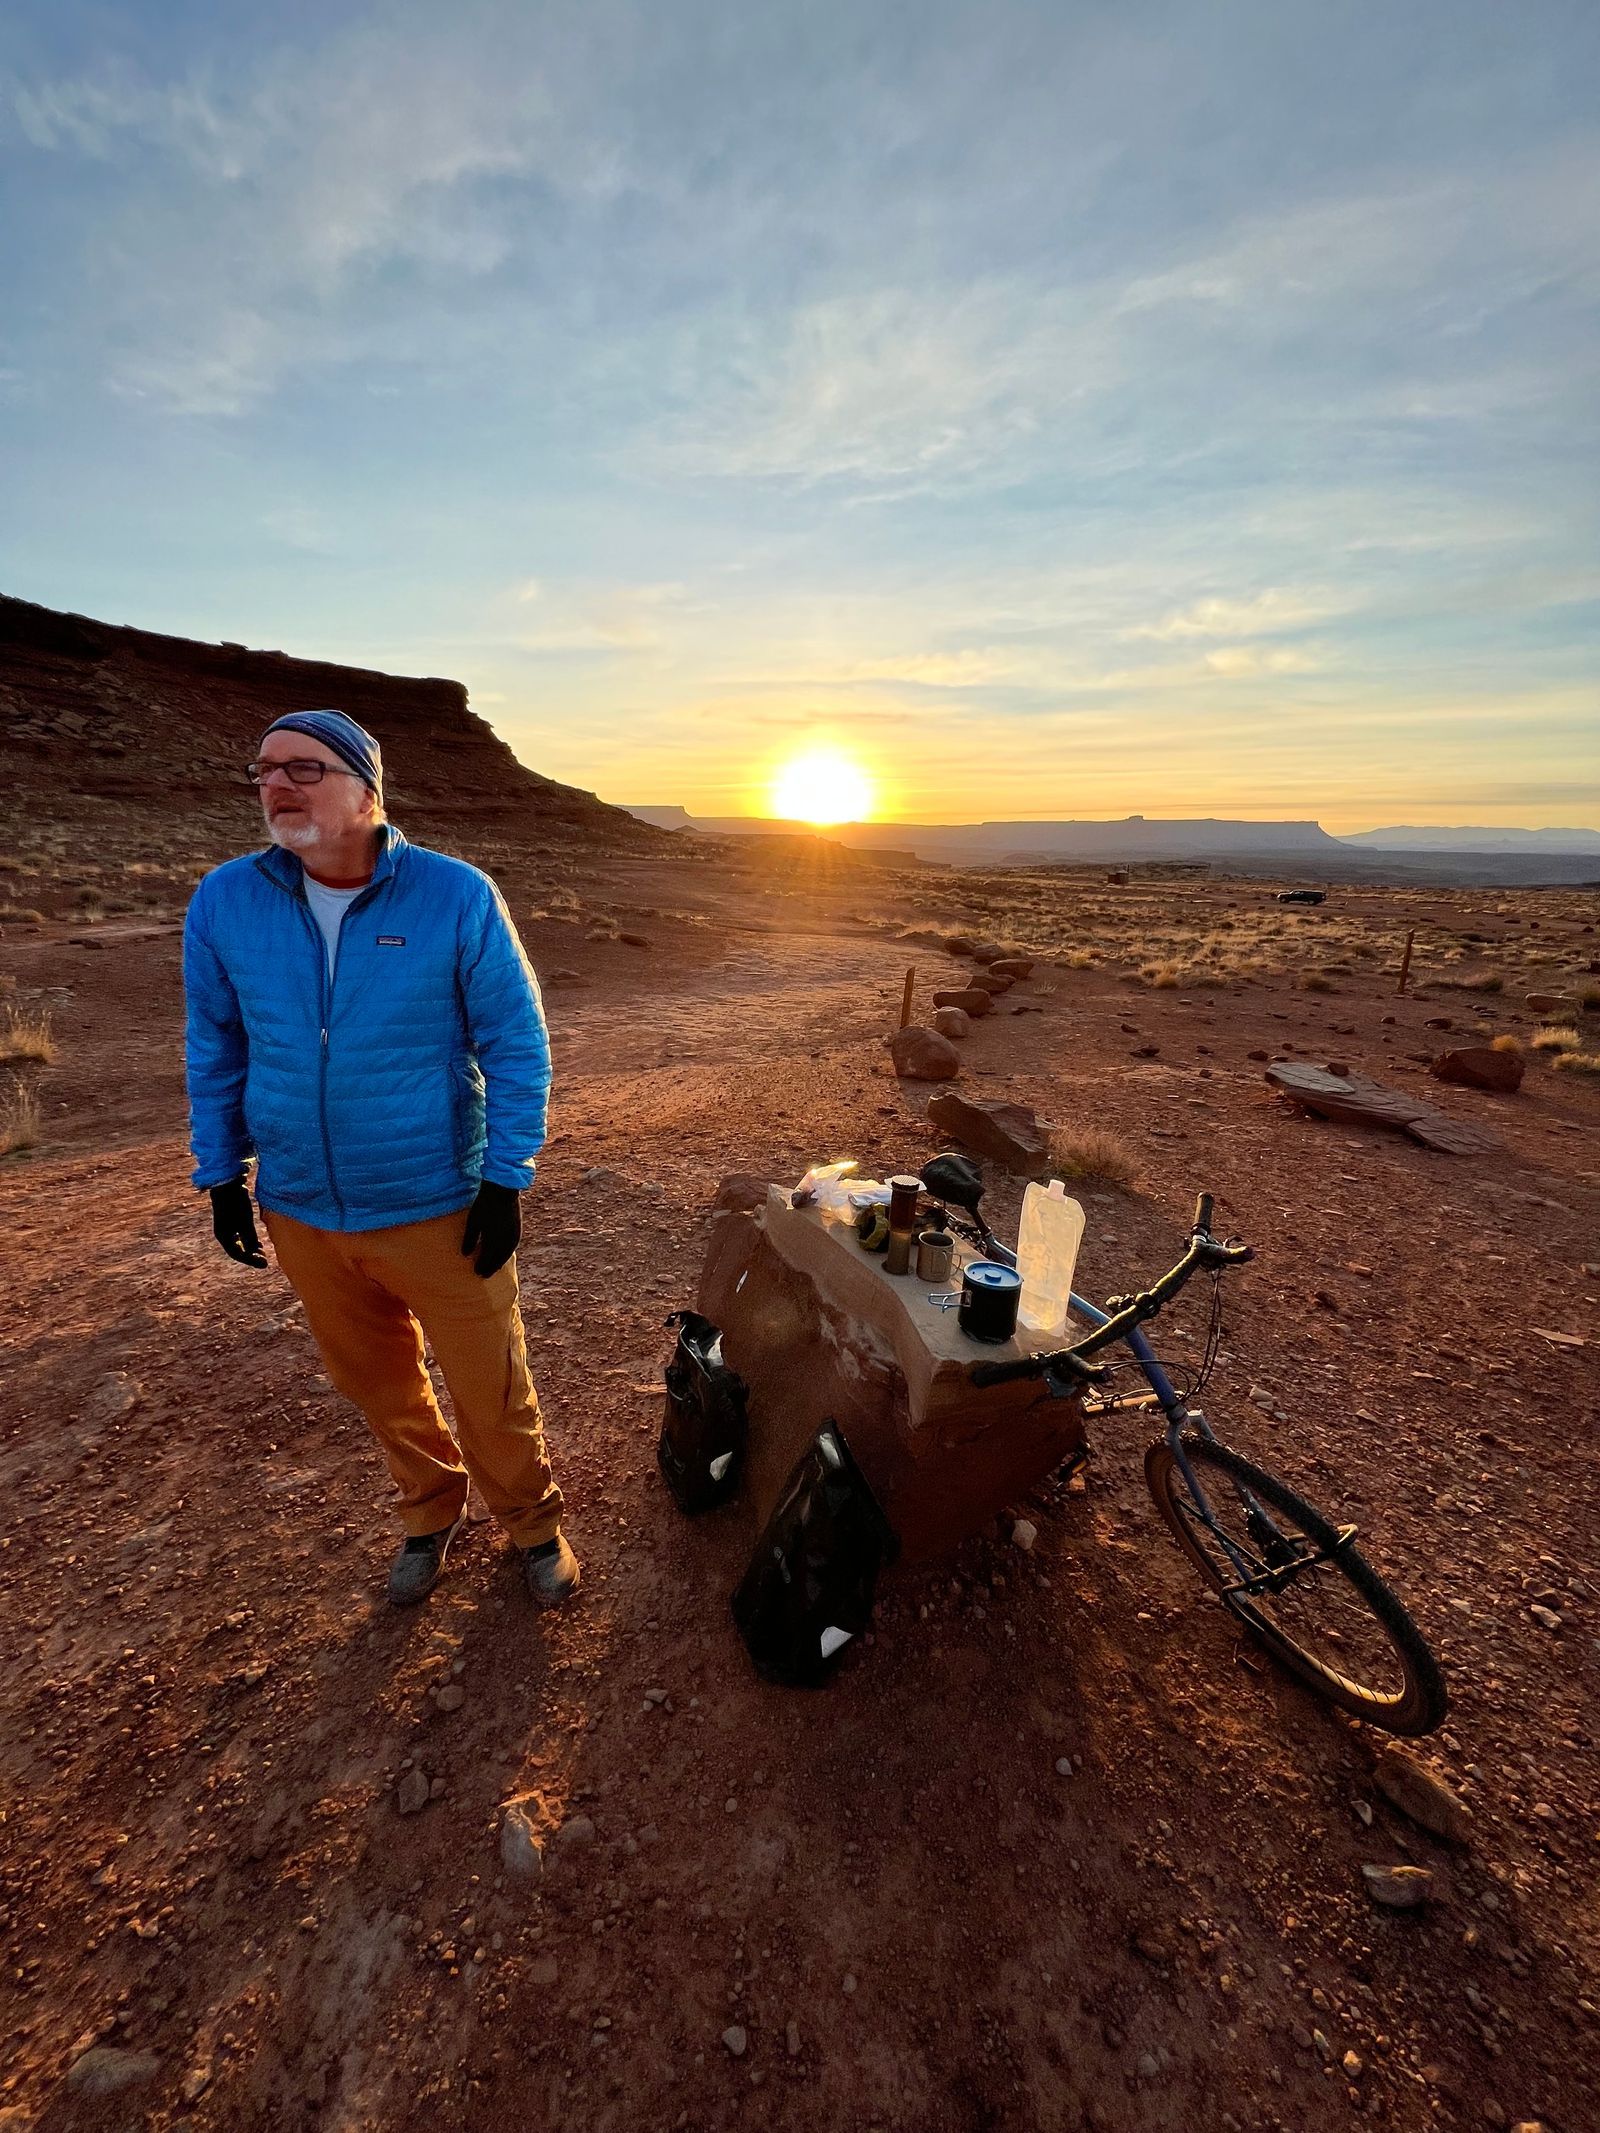
I wanted a chill pace with lots of picture-taking. I prob could’ve gone a bit faster each day, but took my time to soak in the experience.
Based on my research beforehand, I started at the top of the Mineral Bottom switchbacks (there’s a parking lot) and went clockwise.
This resulted in a roughly 40 mile first day, 26 mile second day, 22 mile third day, and 15 mile last day. Here’s a breakdown of what the days were like:
Day 1
40 miles from top of Mineral Bottom switchbacks to Airport campground.
- Started at 11am and arrived at camp around 5pm. Mainly easier riding, including dirt road and highway.
- Big descent down Shafer.
- Fill up water if needed at Island in the Sky visitor center (~20 miles from start).
Day 2
26 miles from Airport to Murphy campground.
- Started at 10am.
- Picked up cached water at Gooseberry (~10 miles from Airport).
- Moderate riding, with a long steep ascent to Murphy requiring some hike-a-bike.
- Arrived at camp around 5:30 (nearly dark).
Day 3
22 miles from Murphy to Potato Bottom campground.
- Started at 10am.
- Moderate riding, with no major ascents or descents.
- Took a 3 mile roundtrip out-and-back spur to see White Crack (highly recommend!).
- Arrived at camp around 4pm.
Day 4
15 miles from Potato Bottom to car.
- Started at 10am.
- Moderate riding, with two steep ascents.
- Arrived at the car around 1:30pm.
Booking a permit
Book campsite reservations on recreation.gov, selecting the Island in the Sky district within Canyonlands NP. This map will be useful for planning.
Have more questions? Drop them as a comment below.

